Table of Contents
The method of hot filament being extruded through a nozzle and laid down on the print bed is at the core of filament-based 3D printing. What if, though, something goes wrong with this critical procedure? What if the filament sticking fails to the print bed and instead filament sticks to the nozzle?
When a dilemma like this arises, it’s obvious that no 3D printing can be achieved. What might be causing the filament to cling to the nozzle so tenaciously? What do you do if you run into this problem?
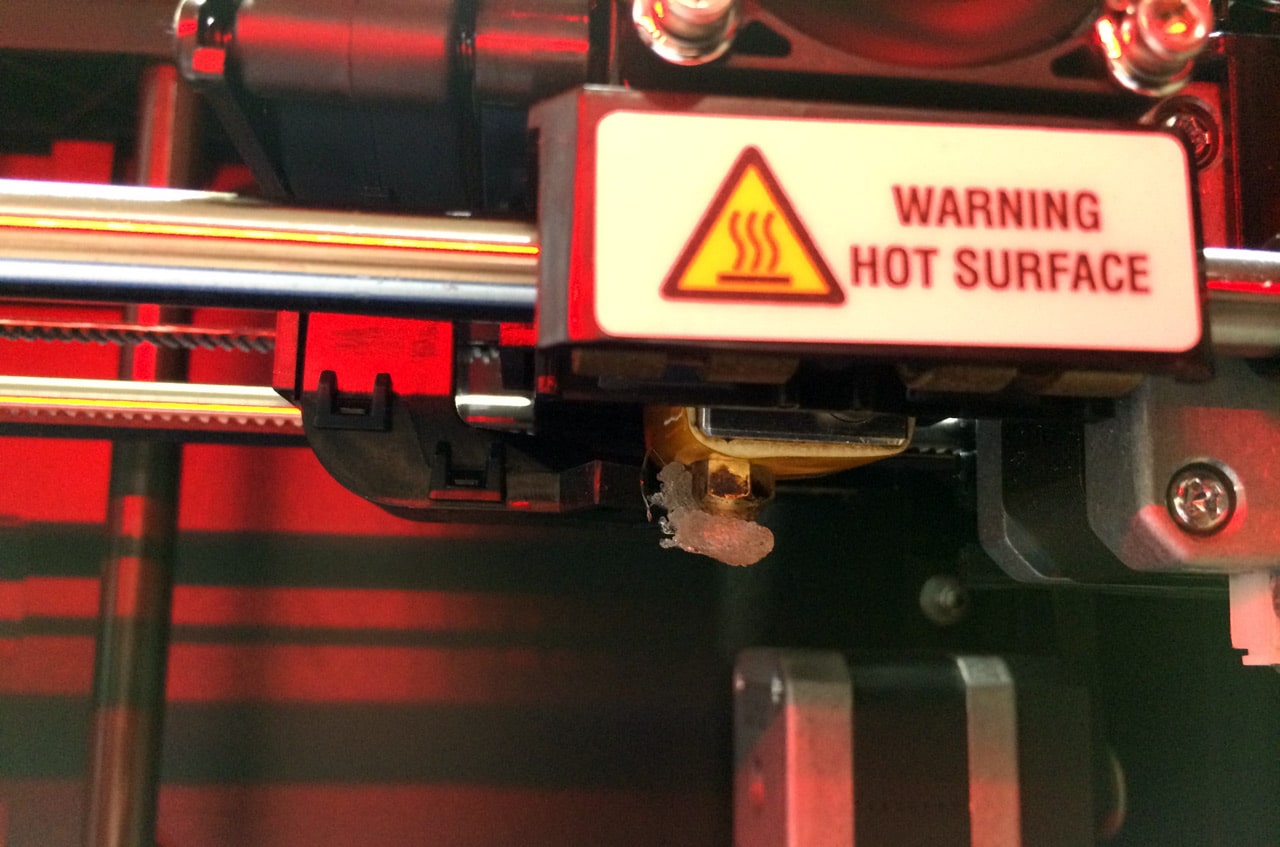
What makes the filament stick to the nozzle?
Any surface that comes into contact with a hot filament will stick to it. This includes the print bed as well as the nozzle. Your goal is to establish the optimal conditions for the filament to attach to the print bed rather than the nozzle. If these conditions aren’t met, the filament will stick to the nozzle.
Here are some potential causes for this issue:
The print bed is too far away from the nozzle.
When a filament refuses to stick to the print bed, this is the most popular reason. As a general rule, the Z-offset of your print head should be about 80% of the diameter of your nozzle. This should be just the right size for the nozzle to “push down” on the filament without dragging it around.
This mechanical drive contributes significantly to good bed adhesion. You should also try lowering the nozzle in 0.02-mm increments before you’re happy with the performance.
Dirty or Oily Print Bed
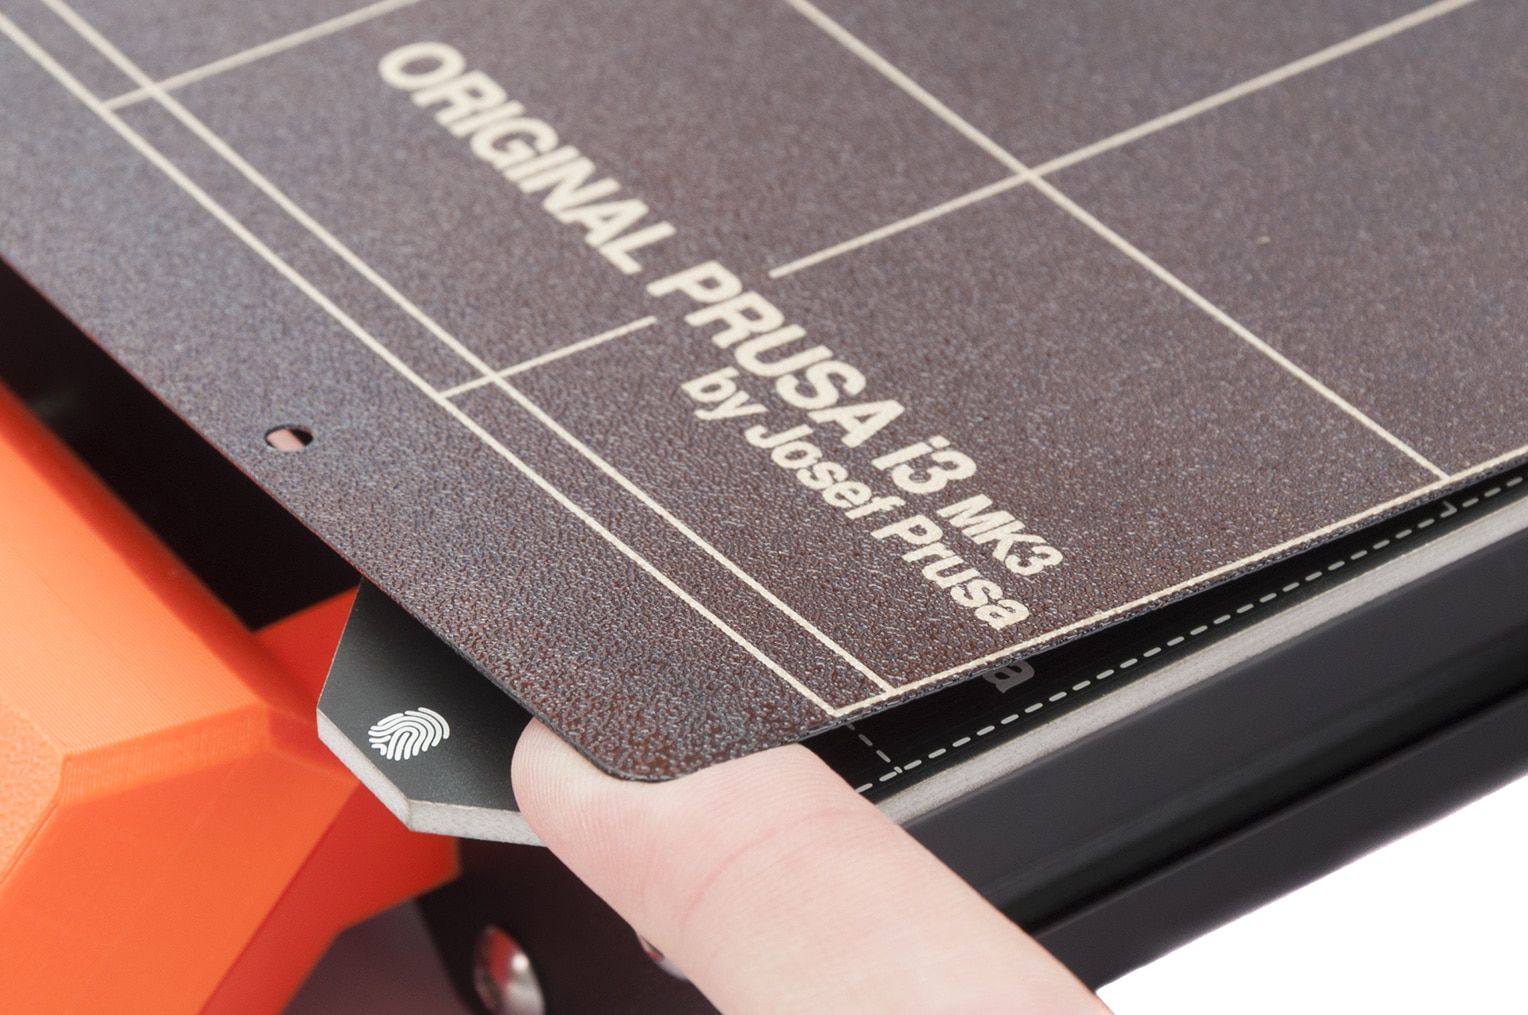
Strong bed adhesion requires a clean print bed. Before beginning all 3D printing projects, any signs of dust, grime, oil, or residual adhesive must be removed from the print bed. When mounting a glass bed on your 3D printer, be careful not to get any fingerprints on it. If necessary, put on a pair of gloves.
The adhesion of the print bed is weak.
To ensure good adhesion, you must change two parameters in your print bed: temperature and adhesive form. Both of these will need to be adjusted depending on the filament you’re using.
Is it PLA or PETG that you’re printing with? Then a heated bed will not be needed, and a simple glue stick will suffice. You’ll need to lift the bed temperature if you’re working with high-temperature Nylon or Polycarbonate. This would also necessitate the use of heat-resistant adhesives such as Kapton tape or hairspray.
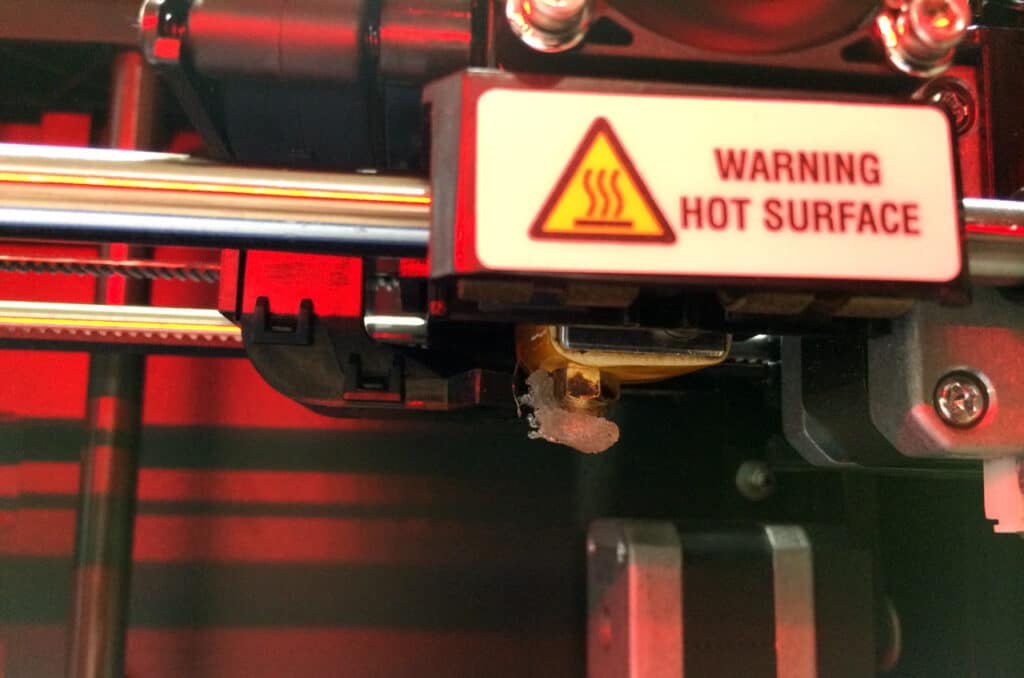
The problem of filament sticking to the nozzle can often manifest itself as the filament “curling” towards the nozzle. The filament may not even come into contact with the print bed, so it’s no longer a matter of bed adhesion!
If your filament curls, it’s almost definitely due to a clogged nozzle. When the filament is extruded at an angle rather than vertically straight, it curls. Fortunately, easily diagnosing this issue also ensures that you can take immediate action to resolve it.
You may also look at other options.
The good news is that filament sticking to the nozzle occurs right at the start of a 3D printing project. This cuts down on the amount of time and materials spent before you can find a successful solution. If you’re having trouble getting the first layer to stick, try the following solutions:
Calibrate the bed height.
If your bed isn’t fully leveled, setting your Z-offset to support good bed adhesion is pointless. Until printing, run a bed level calibration if you make changes to your print bed, such as removing or adding a glass build plate.
If your 3D printer has an automatic bed leveling feature, you’re in luck. If you don’t, you’ll have to do things the old-fashioned way. Each corner of a print bed should have an adjustment screw.
At various times, try sticking a piece of thick cardboard between the print bed and the nozzle. This will be the starting point for the distance between the nozzle and the print bed. You want this cardboard to fit snugly at all points of the print bed, so pass it around and measure it at various locations. If the fit is too loose or too tight at any stage, make the required adjustments to the screws.
Make sure your nozzle is clean
If you can see the filament curling, something is almost definitely clogging your nozzle. You should use a steel brush to try to dislodge it first. If the clogged substance isn’t too rough, this typically works.
The “cold pull” method is a more reliable alternative. Insert a piece of high-temperature filament (Nylon is a good choice) through the nozzle upwards. Heat the nozzle to Nylon’s melting temperature and then cool it down. Any residue in the nozzle may have stuck to the Nylon filament as a result of this. The filament should then be yanked out, ideally along with all the debris that created the clog.
Make sure your print bed is clean
Maintaining the adhesion of the print bed needs proper cleaning. When washing your print bed, stop using abrasive materials. This causes micro-abrasions on the print bed’s surface, which can make filament adhesion difficult.
Instead, simply clean the print bed with soap and water before wiping it dry with a clean rag. Remove any adhesive residue with acetone if necessary. Until 3D printing, make sure the print bed is fully dry.
The printing temperature should be raised
The use of heat improves filament adhesion. If your filament isn’t sticking to the print bed, consider increasing the printing temperature by 5 degrees Celsius at a time. If you’re just having problems with the first few layers, printing at high temperatures from the start may be enough.
Keep in mind that high printing temperatures can cause stringing and poor bridging efficiency, among other issues. If your base layers have already been set, you will need to lower the printing temperature to prevent any unfavorable results.
Raise the temperature of the printing bed
The use of a heated print bed improves bed adhesion significantly. A heated bed should hold the filament close to its glass transition temperature, preventing the filament from sticking to the nozzle.
You should try the print bed temperature by 5 °C increments before bed adhesion improves, just as you did with the printing temperature. Keep an eye out for symptoms of a high bed temperature, the most common of which is “Elephant’s Foot.”

A particular adhesive should be used
The challenge of achieving good bed adhesion varies depending on the filament you’re printing with. Most of the time, hairspray, blue painters’ tape, or Kapton tape would suffice.
You should try special build surfaces if you need more heavy-duty bed adhesion solutions. BuildTak is an excellent choice for ABS, PET, and flexible filaments. BuildTak is an expensive product that can be reused if used properly.
Cooling the first few layers is not recommended
One of the main causes of weak bed adhesion is the sudden decrease in temperature when the filament exits the nozzle. It’s a good idea to slow down the cooling process as much as possible to get the filament to adhere to the print bed. This entails turning off the cooling fan or the first few layers of the cooling system.
You’ll likely need to print with an enclosure in certain situations. This maintains the temperature near the print bed and prevents outside drafts from cooling it.
Conclusion
Keeping an eye out for potential issues is an essential part of the 3D printing process, especially at the start of a project. The filament sticking to the nozzle is an issue that can occur well before the first layer of your project has been printed.
The positive thing about this issue is that you don’t have to print multiple layers before realizing there’s a problem. It’s also a simple fix: if your nozzle isn’t clogged, all you have to do now is boost bed adhesion. The first phase in a good 3D printing project is getting the filament to adhere to the print bed.


