Table of Contents
Learn how to create a beautiful 3D printed lithophane with this step-by-step guide. From converting your image to preparing your model for printing, we’ve got you covered. Follow these easy steps and impress your friends and family with your 3D printing skills.
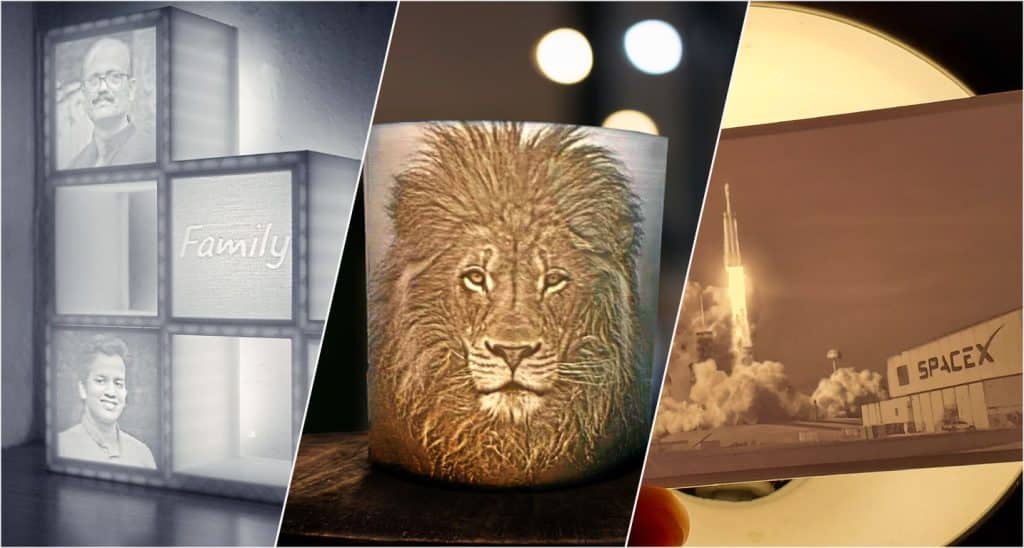
Lithophanes are unique and beautiful 3D printed objects created by converting a 2D image into a 3D model. The image becomes visible when light is shone through the thin layers of the lithophane. These objects make for great gifts and decorations, and with some knowledge and the right tools, they are easy to create. This blog post will walk you through creating a 3D-printed lithophane from start to finish.
Step 1: Choose an Image
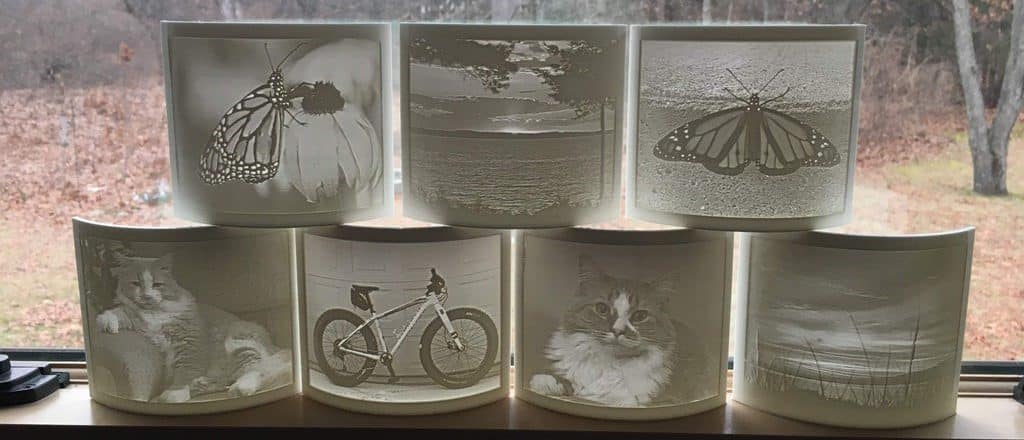
The first step in creating a lithophane is selecting an image. You can use any image you like, but remember that high-resolution images with good contrast work best. You can use a photo of a loved one, a beautiful landscape, or even a company logo.
Here are some suggestions for images that could be used to create a 3D printed lithophane:
- A portrait of a loved one: This could be an excellent gift for someone special in your life. Choose a high-resolution photo with good lighting and contrast for the best results.
- A beautiful landscape: Choose a photo of a stunning natural location, such as a mountain range or a beach. The more detail in the image, the better the lithophane will turn out.
- A cityscape: A photograph of a city skyline at night could make for a beautiful and unique lithophane. The neon lights and reflections in the water will add depth and interest to the final product.
- An animal: Choose a photo of a beloved or favorite pet. The fur or scales of the animal will add texture and depth to the lithophane.
- A company logo: If you own a business, consider creating a lithophane with your company logo. This could be a great marketing tool or a unique gift for clients and employees.
- An abstract design: If you’re feeling creative, try creating a lithophane with an abstract design or pattern. The possibilities are endless with this option!
Step 2: Convert the Image to a Lithophane
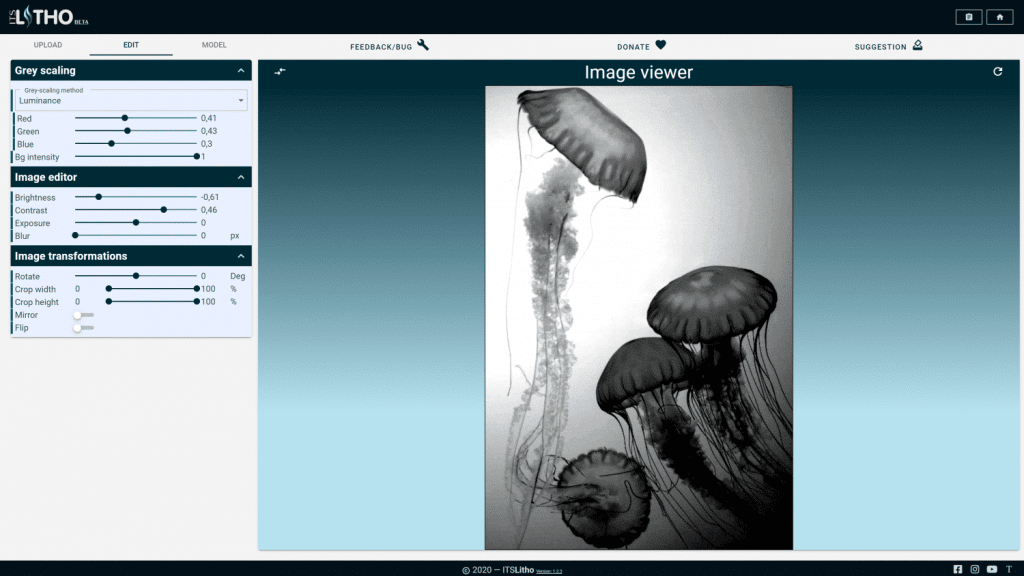
Once you have chosen your image, you’ll need to convert it to a lithophane using special software. Several free online tools are available for this purpose, such as Lithophane Maker and Lithophane Generator. Upload your image and follow the prompts to create the lithophane model.
- Lithophane Maker: This free online tool allows you to upload an image and adjust the settings to create a lithophane model. It offers a range of customization options, including the ability to adjust the thickness, smoothness, and overall shape of the lithophane.
- Lithophane Generator: This free online tool is similar to Lithophane Maker but offers a few additional features. In addition to converting an image to a lithophane, it allows you to create a 3D model of a text message or a QR code.
- 3DPrintTech Lithophane Creator: This paid app is available for Windows and Mac and offers a range of advanced features for creating lithophanes. In addition to converting an image to a lithophane, it allows you to adjust the model’s thickness, smoothness, and overall shape. It also includes a slicing feature that allows you to customize the printing settings for your specific printer.
- Blender: This free, open-source 3D modeling software can create a lithophane from scratch. While it may require a bit more advanced knowledge and skill, it offers a wide range of customization options and can be a powerful tool for creating complex lithophanes.
No matter which app you choose, follow the prompts and adjust the settings to achieve the desired results. With some experimentation, you’ll be able to create a beautiful and unique lithophane in no time!
Step 3: Prepare the Model for Printing
Once you have created the lithophane model, you’ll need to prepare it for printing. This involves scaling the model to the desired size and adding necessary support. You may also need to adjust the layer height and infill settings to achieve the desired thickness and level of detail.
Step 4: Print the Lithophane
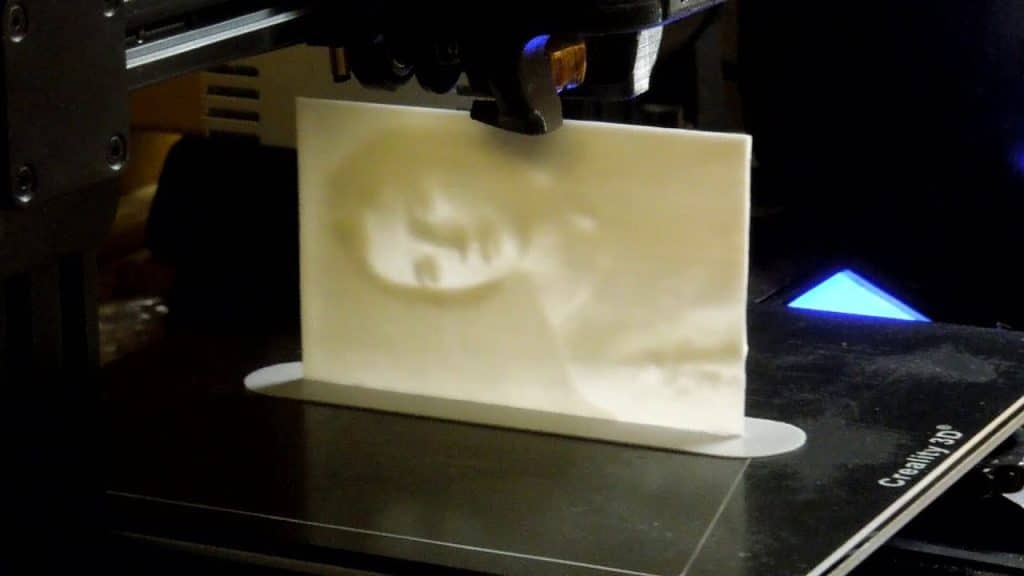
Now it’s time to print your lithophane. Make sure to use a high-quality, transparent filament, such as PETG or acrylic, to ensure the best possible results. Place your model on the bed, load the filament, and start the print.
When it comes to 3D printing lithophanes, there are a few factors to consider when choosing a 3D printer. Here are some things to keep in mind:
- Layer height: Lithophanes are created by layering thin slices of plastic on top of each other. You’ll need a small minimum layer height printer to achieve a high level of detail and clarity in the final product. Look for a printer with a minimum layer height of 100 microns or less.
- Printing speed: Depending on the size and complexity of the lithophane, the printing process can take some time. If you’re looking to create large or complex lithophanes, consider a printer with a high printing speed to save time.
- Filament compatibility: As mentioned earlier, using a high-quality, transparent filament is essential when printing lithophanes. Make sure that the printer you choose is compatible with transparent filaments such as PETG or acrylic.
- Build volume: If you’re planning on creating large lithophanes, you’ll need a printer with a large build volume. Consider the size of the models you want to create and choose a printer accordingly.
Generally, any printer with a small minimum layer height, high printing speed, and compatibility with transparent filaments should be suitable for 3D printing lithophanes. Some popular options include the Ultimaker 3, the LulzBot Mini, and the Creality CR-10.
Step 5: Post-Processing
After the print is complete, you’ll need to remove any supports and clean up the model. Depending on the size and complexity of the lithophane, this can be a time-consuming process. Use a small pair of pliers or a hobby knife to remove any excess material carefully, and use sandpaper or a file to smooth rough edges.
Step 6: Display or Use the Lithophane
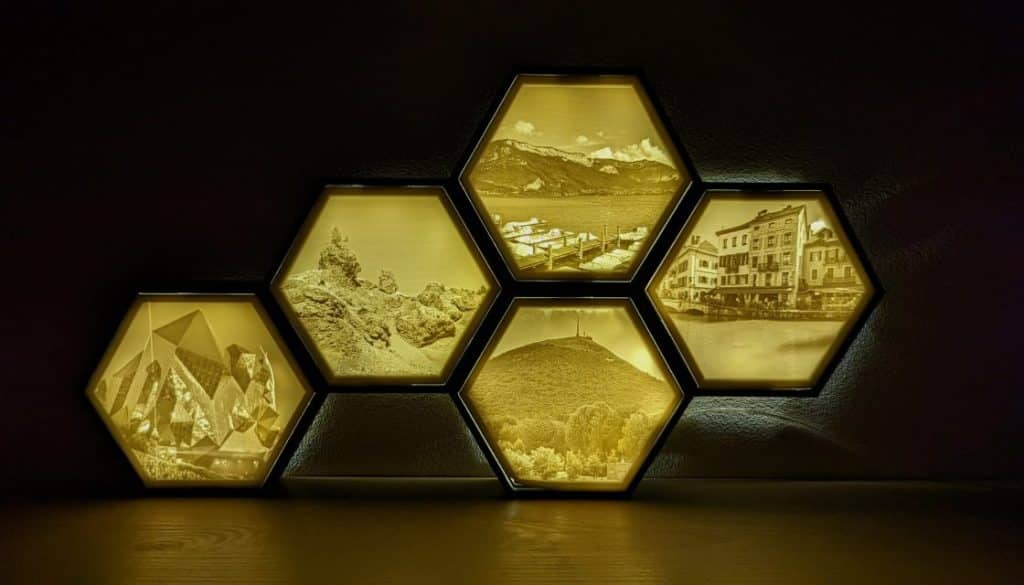
Now that your lithophane is complete, it’s time to display or use it. There are several ways to do this, depending on your preference. You can place the lithophane in a frame with a light behind it, hang it on a wall, or even use it as a night light. Get creative and have fun with it!
Depending on your preference and the model size, there are several ways to display a 3D printed lithophane. Here are a few options to consider:
- In a frame: One of the most popular ways to display a lithophane is in a frame with a light behind it. You can purchase a frame designed explicitly for lithophanes or use a regular picture frame and place a light behind it. This is a simple and elegant way to display the lithophane and can be easily hung on a wall or placed on a tabletop.
- As a night light: Another great way to display a lithophane is as a night light. You can use a small lamp or a string of LED lights to shine through the model, creating a soft and soothing ambiance in a bedroom or other space.
- As a pendant light: If you have a larger lithophane, you can use it as a pendant light. Hang the model from a ceiling using a cord or chain, and place a light bulb inside the model to create a unique and eye-catching light fixture.
- In a shadow box: If you have a smaller lithophane, you can display it in a shadow box. Place the model inside the shadow box and add a light behind it to create a stunning display.
- On a shelf: Another simple and easy way to display a lithophane is on a shelf or tabletop. Place the model on a flat surface and add a light behind it to create a beautiful and subtle display.
No matter which option you choose, be sure to experiment with different lighting options to see what works best for your specific lithophane. With creativity, you can create a beautiful and unique display that showcases your 3D printed model.
Conclusion
Creating a 3D printed lithophane is a fun and rewarding project that anyone can do. With the right tools and a little knowledge, you can create beautiful and unique objects that are sure to impress. Give it a try and see what you can create!
Have you created any 3D printed lithophane? If so…
Let us know in the comments below or on our Facebook page to let us know your ideas, and we would appreciate seeing pictures of your works of art!


