
3D printing Elephant foot is frequently encountered but a rarely discussed issue. This is usually overlooked because it has little impact on the visual appearance. Learn what’s causing it and how to fix it!
4 Easy Ways To Fix 3D Printing Elephant Foot What Is 3D Printing Elephant Foot?
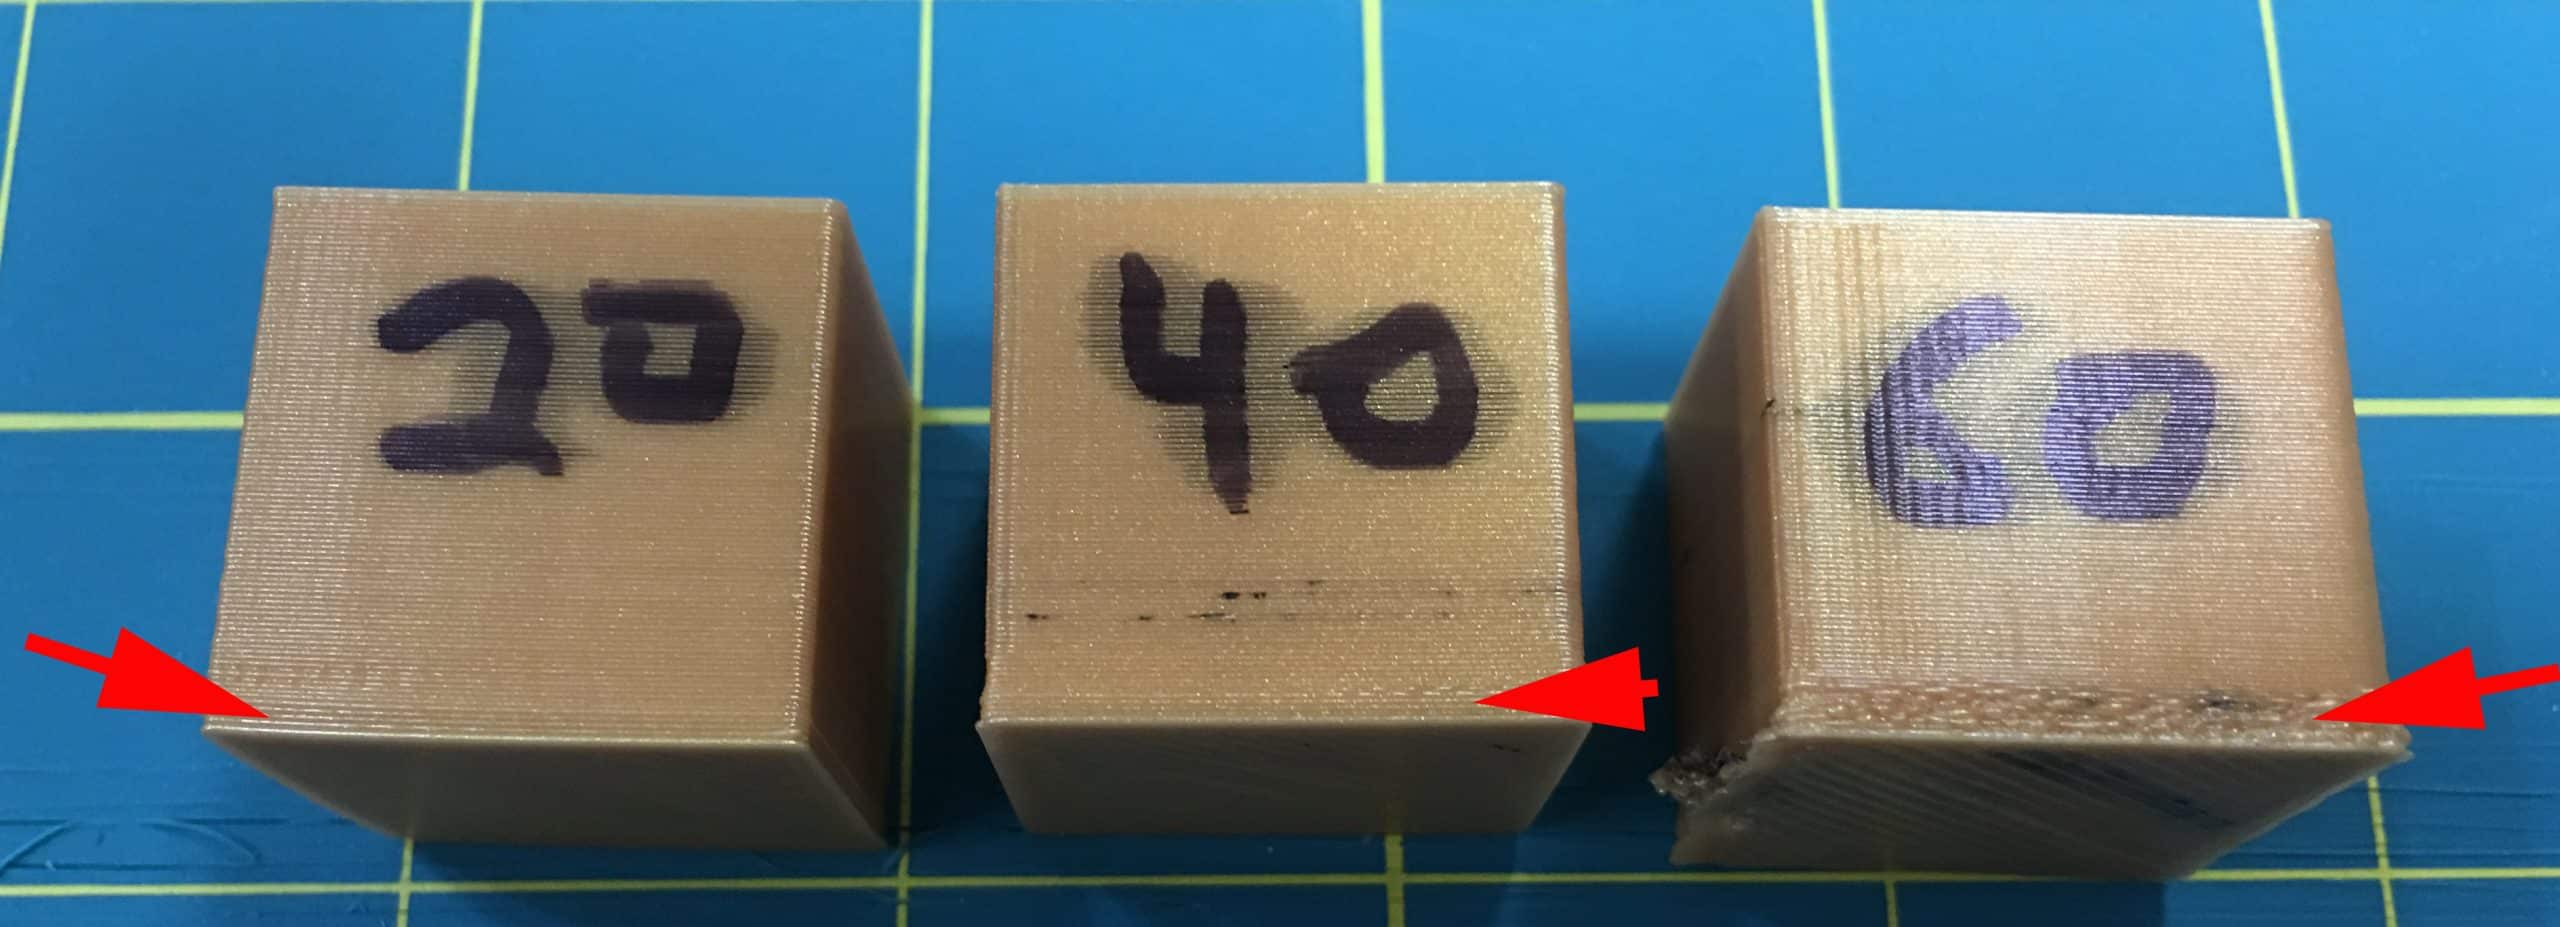
When printing without a raft, you may notice that the first layer is slightly larger than the rest of the layers. This is referred to as elephant’s foot.
While it is usually unnoticeable and unimportant, an elephant’s foot can be a significant issue when printing objects for practical applications. It drastically reduces tolerances, making it much more difficult to fit pieces together.
This defect is common in larger prints because the object’s weight pushes down on the first layer. This weight causes the first layer to bulge if it has not yet completely cooled.
4 Easy Ways To Fix 3D Printing Elephant Foot How to Fix 3D Printing Elephant Foot?
As previously stated, an elephant’s foot is most commonly caused by an uncooled first layer. Suppose the print bed temperature is too high or insufficient cooling. In that case, the first layer may not cool properly, resulting in an elephant’s foot.
Here are a few things you can try to reduce or even eliminate elephant’s foot on your prints:
Level the print bed and adjust your nozzle

Elephant’s foot is sometimes caused by an unleveled build plate or an incorrect nozzle height. These problems cause the first layer to be squished too far down, causing it to bulge out. They’re easy to fix, though, because leveling the build plate and slightly increasing the nozzle height (in your slicer such as Cura, PrusaSlicer) are both simple and quick fixes. Before attempting anything else, ensure that your printing conditions are optimal.
Lower bed temperature
Reduce the temperature of your bed by 5 degrees Celsius at a time until it prints without bulging. Suppose you lower it by more than 20 degrees Celsius above the recommended temperature, and the problem persists. In that case, the elephant’s foot is most likely caused by something else.
Print with a raft

Because the problem is between the first layer and the bed, a raft can absorb the impact. This is more of a workaround than a solution. Still, it can be handy if, for example, you really need one piece to slot into another.
Add chamfers to your model.
Elephant’s foot can be challenging to remove in some rare cases. Instead of tinkering with your printer, it may be simpler to simply change the model. The effects of the elephant’s foot can be reduced by adding a slight 45° chamfer to the bottom edge of the print.
4 Easy Ways To Fix 3D Printing Elephant Foot The Conclusion

Problems such as an elephant foot may deter motivation for a short time. Still, they cannot prevent those who are committed to achieving the desired results.
There are solutions to the problem, and they will become easier to deal with overtime. It’s critical to get the basics straight and attack the problem at its source.
For beginners, the above fixes may appear challenging. However, if you keep working on it until you find the solution that best suits your problem, these are simple to process.
Elephant foot 3D printing isn’t a significant issue that can be solved with the right solution.
If you want to unlock the full potential of 3D printing, you’ll have to solve these minor issues on your own. As you continue to print unique designs, you will learn and grow.


