
Improve the performance and capabilities of your Ender 3 with Klipper firmware. Get faster printing speeds, better print quality, and increased accuracy. Install and configure Klipper on your Ender 3 and get the most out of your printer.
If you own an Ender 3 3D printer, you know it’s a reliable and budget-friendly machine. However, like any printer, it has its limits, and sometimes you might want to get a little more out of it. That’s where Klipper comes in. Klipper is a custom firmware that can be used to improve the performance and capabilities of your Ender 3. In this blog post, we’ll walk you through setting up Klipper on your Ender 3 and show you how it can improve your printing experience.
Step 1: Download the Klipper firmware
The first step in installing Klipper on your Ender 3 is downloading the firmware from the Klipper website. Click on the “Download” button to download the latest firmware version.
Step 2: Install dependencies
Next, you’ll need to install some dependencies on your computer to enable communication between your printer and Klipper. This process will vary depending on your operating system, but generally, you’ll need to install the following software:
- Python 3: This programming language is required to run Klipper. You can download Python 3 from the official website.
- Git: This version control system is used to download and update Klipper. You can download Git from the official website or your operating system’s package manager.
- Any Slicing Software: This software generates G-code for your prints. You can download PrusaSlicer from the official website.
Step 3: Install Klipper
Now that you have installed the necessary dependencies, it’s time to install Klipper on your Ender 3. Connect your printer to your computer using a USB cable and follow the prompts to transfer the firmware to the printer.
Step 4: Configure Klipper
Once you have installed Klipper on your Ender 3, you’ll need to configure the firmware to work with your specific printer. This process involves creating a configuration file that tells Klipper how to communicate with your printer’s hardware. You can use the Printer Configuration Wizard to generate this file automatically or create it manually using a text editor.
Configuring Klipper on an Ender 3 3D printer involves creating a configuration file that tells the firmware how to communicate with your printer’s hardware.
Here is a step-by-step guide to configuring Klipper on an Ender 3:
Step 4.1: Gather information about your printer
Before configuring Klipper, you’ll need to gather information about your printer. This includes the make and model of your printer, the type of controller board you are using, and the type of motors and hotend you are using. You’ll also need to know the dimensions of your printer bed and the maximum speeds and accelerations of your printer.
Step 4.2: Use the Printer Configuration Wizard
One of the easiest ways to configure Klipper on your Ender 3 is to use the Printer Configuration Wizard. This tool is included with the Klipper firmware and can be accessed from the Klipper website. Follow the prompts to enter your printer’s information, and the wizard will generate a configuration file.
Step 4.3: Edit the configuration file
If you prefer to configure Klipper manually, you can create a configuration file using a text editor. This process involves creating a text file and adding various settings and parameters. The Klipper documentation includes a detailed guide to configuring Klipper, including a list of all the available settings and their meanings.
Step 4.4: Transfer the configuration file to your printer
Once you have created or generated your configuration file, you’ll need to transfer it to your Ender 3. You can connect your printer to your computer using a USB cable and transfer the file using a file transfer program, such as FileZilla.
Step 4.5: Restart Klipper
After transferring your configuration file to your Ender 3, you’ll need to restart the Klipper firmware to apply the changes. You can do this by power cycling your printer or using the M112 command in the printer’s console.
Configuring Klipper on an Ender 3 can be a bit technical, but with a little knowledge and patience, you’ll be able to get the most out of your printer. Don’t be afraid to experiment with different settings and configurations to find the best setup for your specific printer.
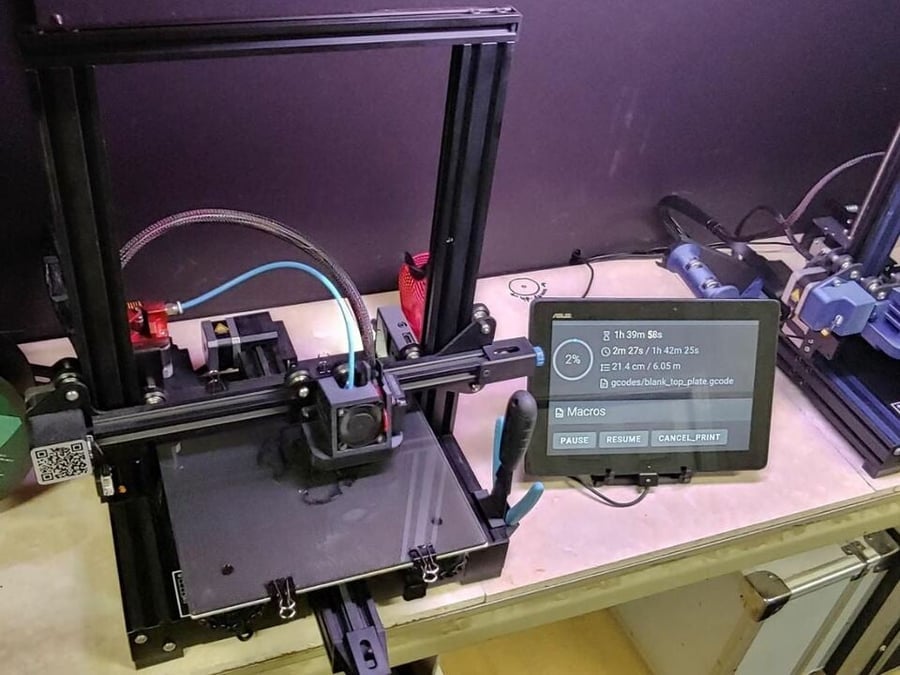
Step 5: Test Klipper
Now that you have installed and configured Klipper on your Ender 3, it’s time to test it out. You can do this by printing a simple object, such as a calibration cube, and observing the results. Pay attention to the print’s quality, the printer’s overall speed, and any other improvements you notice.
Testing Klipper on an Ender 3 3D printer is a simple process that involves printing a simple object and observing the results.
Here is a step-by-step guide to testing Klipper on an Ender 3:
Step 5.1: Print a simple object
To test Klipper on your Ender 3, you’ll need to print a simple object. A calibration cube, a small object with a known set of dimensions, is a good choice for this purpose. You can easily see any changes in print quality or accuracy that Klipper might bring about.
Step 5.2: Observe the results
Once you have printed your calibration cube, look closely at the results. Pay attention to the print’s quality, the printer’s overall speed, and any other improvements you notice. Look for improved layer adhesion, reduced ringing, and a smoother surface finish.
Step 5.3: Make any necessary adjustments
If you notice any issues with your print, you may need to adjust your Klipper configuration. This can involve tweaking settings such as the acceleration, jerk, and PID values or adjusting the printer’s firmware configuration. You can refer to the Klipper documentation or seek help from the community for troubleshooting assistance.
Step 5.4: Repeat the process
Once you have made any necessary adjustments, print another calibration cube and observe the results. Repeat this process until you are satisfied with the results.
Testing Klipper on an Ender 3 is a simple process that can help you get the most out of your printer. With a little bit of experimentation, you’ll be able to find the best configuration for your specific printer and achieve the best possible results.
If you have any problems, you can look at the Klipper documentation or ask for help from the Klipper community.
Conclusion
Installing Klipper on an Ender 3 can be a bit technical, but it’s well worth the effort for its improved performance and capabilities. With a bit of knowledge and patience, you’ll be able to get the most out of your Ender 3 with Klipper.
Don’t forget to share your experience with installing and configuring Klipper on your Ender 3 in the comments below. We would love to hear about your results and any tips you might have for our readers. Your insights are invaluable to our 3D printing community.
Also, if you haven’t already, consider signing up for our newsletter. You’ll get the latest 3D printing tips, tricks, and guides delivered straight to your inbox, helping you stay at the cutting edge of 3D printing technology. Join us and become a part of our growing community of 3D printing enthusiasts.


