Key Takeaways
| Aspect | Description |
|---|---|
| Importance | Understanding the role and benefits of 3D printer enclosures. |
| DIY Solutions | How to build a DIY enclosure with step-by-step guidance. |
| IKEA Hacks | Creative uses of IKEA products for building cost-effective enclosures. |
| Heater Integration | Instructions on integrating heaters for optimal temperature control. |
| Safety Considerations | Addressing the importance of ventilation and fire safety. |
| Material Selection | Choosing the right materials for durability and effectiveness. |
| Temperature Control | Maintaining the right temperature for different types of filaments. |
| Filament Storage | Tips for storing filaments in the enclosure for quality maintenance. |
| Customization and Upgrades | Enhancing enclosure functionality with custom features and upgrades. |
| Conclusion | Summarizing the significance of 3D printer enclosures and encouraging experimentation for improved 3D printing. |
Introduction to 3D Printer Enclosures
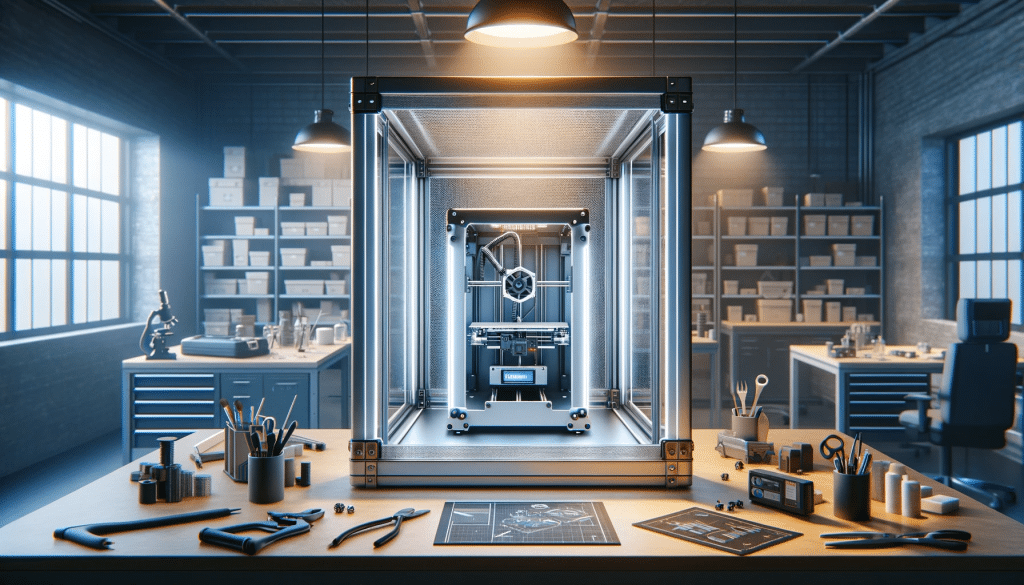
In the realm of 3D printing, the environment in which you print plays a pivotal role in the outcome of your projects. A 3D printer enclosure is not just an accessory; it’s an essential component for any serious 3D printing enthusiast. The benefits of using an enclosure are multifaceted. Firstly, enclosures provide a stable and controlled environment, crucial for high-quality prints. This stability is especially important when working with materials prone to warping or deformation due to temperature fluctuations.
Moreover, 3D printer enclosures enhance safety. They contain potentially harmful fumes, reducing exposure to volatile organic compounds (VOCs) released during printing. Additionally, enclosures can significantly reduce the noise output of printers, making them more suitable for home or office environments.
But what exactly is a 3D printer enclosure? It’s a structure, either purchased or DIY-built, that surrounds the printer. This enclosure helps maintain a consistent temperature while printing and shields the printer from external factors like drafts or temperature changes. It also protects the printer and its prints from dust and other contaminants.
Creating an effective 3D printer enclosure involves understanding the specific needs of your printer and the materials you use. Different printers and materials require different conditions, and a well-designed enclosure can provide these conditions reliably.
As we delve into the world of 3D printer enclosures, we’ll explore various aspects, from DIY solutions to integrating heaters and ensuring safety. Our goal is to empower you with the knowledge to create an optimal printing environment, enhancing the quality of your prints and the enjoyment of your 3D printing journey.
Building Your Own 3D Printer Enclosure: A DIY Guide

Embarking on a DIY project to build your own 3D printer enclosure can be both a fulfilling and practical endeavor. Not only does it allow for customization to fit your specific printer and space requirements, but it also can be a cost-effective alternative to pre-made solutions. Here, we provide a comprehensive guide to help you construct a functional and efficient 3D printer enclosure.
Step 1: Planning and Design
Begin by assessing your needs. Consider the size of your printer, the space it occupies, and any additional features you might want in an enclosure, such as storage for tools or filament. Draft a design that includes dimensions and materials. Remember to leave enough space for the printer to move freely and for you to access it for maintenance.
Step 2: Material Selection
When selecting materials, balance between durability, cost, and ease of work. Acrylic and polycarbonate sheets are popular choices due to their clarity and heat resistance. Plywood or MDF can also be used, especially if you plan to paint or decorate the enclosure. For a frame, aluminum extrusions offer a sturdy yet lightweight option.
Step 3: Construction
Construct the frame according to your design, ensuring it is stable and square. Attach the panels, and make sure to seal any gaps to maintain a stable internal environment. Consider adding a door or removable panel for easy access to the printer.
Step 4: Ventilation and Temperature Control
Proper ventilation is crucial, especially when printing with materials like ABS, which can emit fumes. Consider installing a fan with a carbon filter to vent out fumes. Additionally, if you are printing materials sensitive to temperature fluctuations, integrating a heater and a thermostat can help maintain a consistent internal temperature.
Step 5: Lighting and Accessibility
Good lighting is essential for monitoring print progress. LED strips inside the enclosure offer a bright, low-heat lighting solution. Also, think about how you will access your printer – a front door or a top-opening lid can provide easy access.
Step 6: Additional Features
Consider adding holders for tools, spools for filament, or a camera for remote monitoring of your prints. These features can enhance the functionality of your enclosure significantly.
Step 7: Testing and Refinement
Once your enclosure is built, test it with a few prints. Monitor temperature and humidity levels, and make adjustments as necessary. This might include improving seals, adjusting ventilation, or tweaking the heater setup.
DIY vs. Pre-Made Enclosures
While DIY enclosures offer customization and can be a fun project, they require time and effort. Pre-made enclosures, on the other hand, are ready-to-use solutions that can save time but might be more expensive and less tailored to your specific needs.
In conclusion, building a 3D printer enclosure is a project that can significantly improve your 3D printing experience. It offers an opportunity to tailor your printing environment to your specific requirements, resulting in better print quality and a safer, more enjoyable printing process.
Perfect, let’s proceed with the next section focusing on integrating heaters into your 3D printer enclosure for optimal temperature management.
Innovative IKEA Hacks for Your 3D Printer Enclosure

IKEA, known for its affordable and versatile furniture, offers a treasure trove of possibilities for creative DIY 3D printer enclosures. These hacks not only save you money but also provide a sleek and functional housing for your printer. Let’s dive into how you can use IKEA products to build your own 3D printer enclosure.
Choosing the Right IKEA Product
Start by selecting an IKEA product that fits your space and printer size. Popular choices include the LACK table, BESTÅ cabinet, or PAX wardrobe. These items provide a sturdy base and are easily customizable.
The LACK Table Enclosure
The LACK table is a favorite among 3D printing enthusiasts for its perfect size and affordability. To build an enclosure, stack two LACK tables and enclose the sides using acrylic or polycarbonate sheets. This creates a cube-like structure with ample room for most desktop 3D printers.
Customizing Your Enclosure
Customization is key. Add LED lighting for visibility, a fan for ventilation, and even a plexiglass door for easy access. You can also install soundproofing materials inside the enclosure to reduce noise.
Integrating Temperature Control
For temperature-sensitive materials, integrating a heater into your IKEA enclosure is crucial. You can install a small, thermostatically controlled heater to maintain a consistent printing environment. This is particularly useful for materials like ABS or Nylon.
Adding Functionality
Enhance the functionality by adding holders for filament spools, tools, and accessories. If you’re using a PAX wardrobe, utilize its shelving and drawers for organized storage.
Safety Considerations
When modifying furniture for a 3D printer enclosure, always keep safety in mind. Ensure the structure is stable and can support the weight of your printer. Proper ventilation is also crucial to avoid the buildup of fumes.
The Aesthetic Appeal
One of the advantages of using IKEA products is the aesthetic appeal. With a range of colors and styles, you can choose an enclosure that complements your workspace. This not only serves a practical purpose but also adds to the overall decor.
Balancing Cost and Efficiency
IKEA hacks offer a balance between cost and efficiency. While pre-made enclosures might offer more specialized features, IKEA hacks are cost-effective and offer a good degree of customization.
In conclusion, IKEA provides excellent options for building a 3D printer enclosure. With a little creativity and some DIY spirit, you can create a functional, stylish, and budget-friendly enclosure that meets your specific 3D printing needs.
Integrating Heaters into Your Enclosure
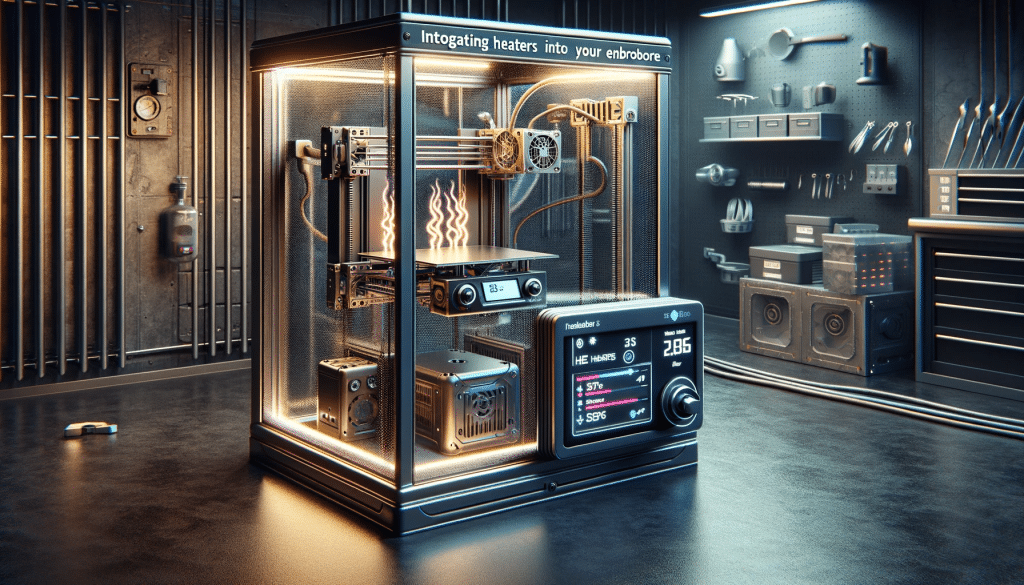
Achieving the right temperature within a 3D printer enclosure is crucial for high-quality prints, especially when working with materials that are sensitive to temperature variations. Integrating a heater into your enclosure can be a game-changer, ensuring that your prints are consistent and free of warping or other temperature-induced issues. Here’s how you can effectively integrate a heater into your 3D printer enclosure.
Understanding the Need for a Heater
Different printing materials have varying temperature requirements. Materials like ABS, Nylon, and PETG benefit significantly from a warm and stable printing environment. A heater in your enclosure helps maintain this environment, reducing the likelihood of print failures.
Selecting the Right Heater
When choosing a heater, consider factors like power, size, and safety features. You want a heater that can reach the desired temperature quickly but is not so powerful that it overheats the enclosure. Ceramic heaters are a popular choice due to their efficiency and safety features.
Installing the Heater
The installation of your heater should be done with careful consideration of air circulation and temperature distribution. Place the heater so that it does not directly blow hot air onto the printer or the print, as this can cause uneven heating. It’s also crucial to ensure that the heater is securely mounted and cannot tip over or come into contact with flammable materials.
Thermostatic Control
To maintain a consistent temperature, use a thermostat to control the heater. This allows you to set a specific temperature for the enclosure and ensures that the heater turns off when this temperature is reached, preventing overheating.
Safety Measures
Safety is paramount when integrating a heater into your enclosure. Ensure that your enclosure is made from materials that can withstand the heater’s temperature. Always include a reliable thermostat and consider installing a smoke detector and fire extinguisher nearby as precautionary measures.
Ventilation Balance
While a heater keeps the enclosure warm, proper ventilation is still necessary to manage fumes and prevent overheating. Balance the need for a warm environment with adequate ventilation to ensure a safe and effective printing setup.
Energy Efficiency
Consider the energy efficiency of your heating setup. Insulate your enclosure to retain heat, and use a heater with an automatic shut-off feature to conserve energy when the desired temperature is reached.
Monitoring and Adjustments
Regularly monitor the temperature within the enclosure and make adjustments as needed. This might involve tweaking the thermostat settings or repositioning the heater for optimal performance.
In conclusion, integrating a heater into your 3D printer enclosure can significantly enhance your printing experience. By carefully selecting and installing a suitable heater, and balancing it with proper ventilation, you can achieve high-quality prints consistently and safely.
Safety First: Managing Fumes and Fire Risks
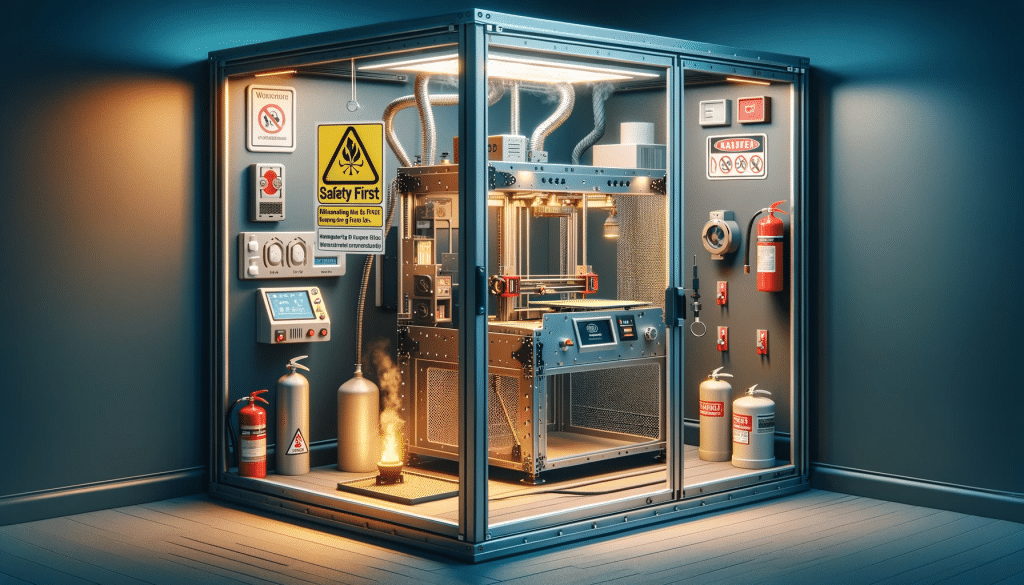
When it comes to 3D printing, especially within an enclosed space, safety is a paramount concern. Managing fumes effectively and minimizing fire risks are crucial to ensuring a safe and healthy printing environment. Let’s explore the best practices for managing these risks.
Understanding Fume Risks
3D printers, depending on the material used, can emit fumes that may be harmful if inhaled in large quantities. Materials like ABS and Nylon produce volatile organic compounds (VOCs) during printing. In an enclosed space, these fumes can accumulate, making ventilation a critical component of your enclosure design (3D Printer Fumes Management).
Effective Ventilation Solutions
To manage fumes, integrate a ventilation system in your enclosure. This can be as simple as a fan with ducting that directs fumes outside or a more complex system with carbon filters to clean the air before it’s circulated back into the room. Ensure that your ventilation system is powerful enough to handle the volume of air within the enclosure.
Fire Safety Precautions
3D printers, particularly when left operating unattended, pose a fire risk. To mitigate this, ensure that your printer is in good working order and that any modifications, like added heaters, are installed safely. Regular maintenance checks are essential to spot potential hazards like frayed wires or a malfunctioning power supply.
Using Fire-Resistant Materials
When building or modifying your enclosure, use materials that are fire-resistant or have a high melting point. Metal frames, fire-resistant panels, and tempered glass are good options. Avoid flammable materials like certain plastics or untreated wood.
Installing Safety Devices
Equip your enclosure with safety devices such as smoke detectors and automatic fire extinguishers. These devices can provide an early warning in the event of smoke or a fire, allowing for quick intervention.
Electrical Safety
Ensure that all electrical installations within the enclosure, including heaters and fans, are done correctly. Use surge protectors and check that all components are rated for the power they will handle. Poor electrical installations are a common cause of fire in 3D printing setups.
Regular Maintenance and Inspections
Regularly inspect your printer and enclosure for any signs of wear, damage, or potential hazards. Keep the printer clean, and ensure that moving parts are lubricated and functioning correctly. A well-maintained printer is less likely to develop faults that could lead to safety issues.
Emergency Preparedness
Be prepared for emergencies. Keep a fire extinguisher accessible and familiarize yourself with how to use it. Also, have a plan for safely shutting down and unplugging the printer in case of an emergency.
In conclusion, while 3D printing offers immense creative possibilities, it’s crucial to prioritize safety. By effectively managing fumes and minimizing fire risks, you can enjoy 3D printing while ensuring a safe environment for yourself and those around you.
Choosing the Right Materials for Your Enclosure
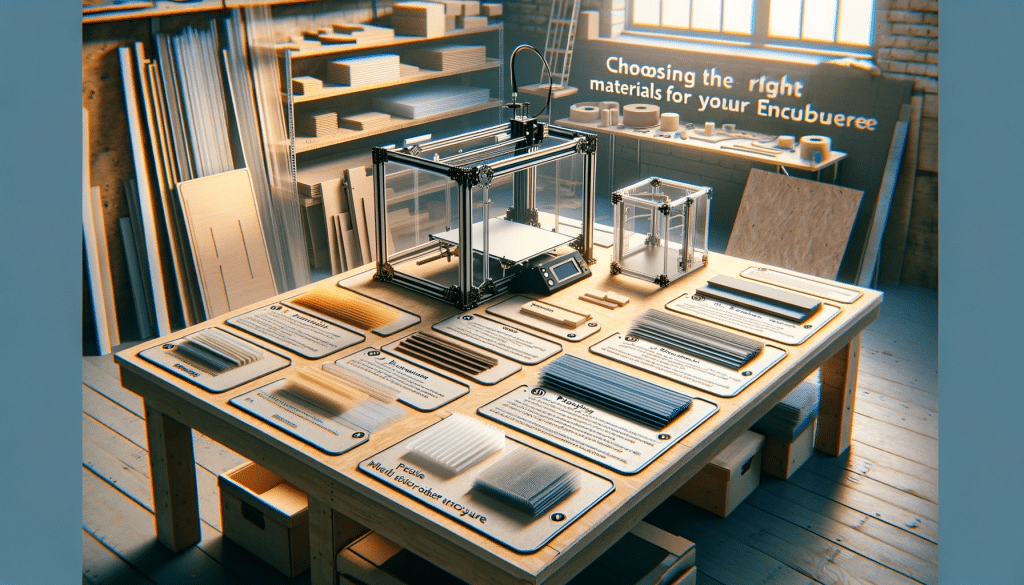
When it comes to building a 3D printer enclosure, choosing the right materials is crucial for both functionality and safety. The materials you select can impact the enclosure’s effectiveness in temperature management, noise reduction, and even safety. Let’s explore the best materials for constructing a sturdy and efficient 3D printer enclosure.
Understanding Material Properties
Different materials offer various benefits for enclosure construction. Factors to consider include heat resistance, durability, transparency, and fire resistance. The choice of material can affect the enclosure’s ability to maintain a stable temperature and its overall safety.
Popular Material Options
- Acrylic: Acrylic sheets are a popular choice due to their clarity, allowing you to monitor your prints easily. They are also relatively easy to work with. However, acrylic can crack under stress and is not the best insulator.
- Polycarbonate: Polycarbonate sheets are more durable and have better heat resistance than acrylic. They are also transparent but can be more expensive.
- Plywood or MDF: For a more robust and insulated enclosure, plywood or MDF can be used. These materials are better at maintaining a stable temperature but lack the transparency of acrylic or polycarbonate. They can be painted or treated for a more aesthetic look.
- Metal: Metal enclosures, such as those made from aluminum sheets, offer excellent durability and fire resistance. They are, however, more challenging to work with and can be more costly.
Balancing Transparency and Insulation
If you prefer to have visibility into the enclosure, using a combination of materials can be effective. For example, you could use plywood for the frame and sides, with a polycarbonate door or window.
Insulation Considerations
Proper insulation is key, especially if you’re printing with materials sensitive to temperature fluctuations. Insulating materials can be added to the inner walls of the enclosure to help maintain a consistent temperature. This is particularly important if you’re integrating a heater into the enclosure.
Fire Safety
Always prioritize fire safety when choosing materials. Non-flammable or flame-retardant materials are preferred. If using wood or similar materials, consider treating them with a fire-retardant coating.
Ventilation and Material Compatibility
Ensure that the materials you choose work well with your planned ventilation system. For instance, if you’re installing a fan or air filter, the material should be able to support these fixtures securely.
Aesthetics and Workspace Integration
Consider how the enclosure will fit into your workspace. The material choice can influence the overall look and feel of the enclosure. Whether you prefer a modern, sleek design or a more traditional, robust appearance, select materials that align with your aesthetic preferences.
Cost vs. Quality
Finally, balance the cost with the quality and functionality you need. While it’s tempting to go for cheaper materials, investing in higher-quality materials can enhance the enclosure’s effectiveness and durability.
In conclusion, the choice of materials for your 3D printer enclosure is a critical decision that impacts its effectiveness, safety, and aesthetics. By carefully considering your needs and the properties of different materials, you can build an enclosure that enhances your 3D printing experience.
The Role of Temperature in 3D Printing
Temperature control is a crucial element in the world of 3D printing. It can significantly impact the quality and success of your prints. Understanding and managing the role of temperature in your printing processes is key, especially when working with different materials. Let’s explore how temperature affects 3D printing and the role of enclosures in maintaining the optimal printing environment.
Understanding Temperature Sensitivity of Filaments
Different printing filaments have varying temperature sensitivities. For example:
- PLA (Polylactic Acid): PLA is relatively easy to print with and has a lower melting point. However, it can still benefit from a stable temperature to avoid warping.
- ABS (Acrylonitrile Butadiene Styrene): ABS is known for its strength and durability, but it requires a higher temperature for printing and is prone to warping if cooled too quickly.
- PETG (Polyethylene Terephthalate Glycol): PETG combines ease of printing like PLA with the strength of ABS, but it requires a consistent temperature to avoid stringing and blobbing.
Enclosures as Temperature Regulators
A 3D printer enclosure acts as a temperature regulator, maintaining a consistent environment around the printer. This is particularly important for materials like ABS, which need a warm environment to prevent warping and cracking (Best PLA Temperature). By controlling the ambient temperature, enclosures reduce the risk of defects caused by thermal contraction.
Reducing Temperature Fluctuations
External factors such as drafts, air conditioning, or varying room temperatures can affect your print quality. Enclosures help mitigate these factors by isolating the printer and maintaining a stable internal atmosphere.
Incorporating Heaters and Sensors
For materials requiring higher temperatures, incorporating a heater into your enclosure can be beneficial. Thermostatic controls and sensors can be used to precisely regulate the temperature within the enclosure, ensuring it remains within the optimal range for the filament you are using.
Impact on Print Quality
A stable temperature environment leads to better layer adhesion, fewer warping issues, and overall higher-quality prints. Enclosures can also prevent sudden temperature drops that can cause the print to detach from the bed.
Safety and Temperature
While managing temperature is essential for print quality, it’s also a safety consideration. High temperatures can increase the risk of burns or fire. Ensure that your enclosure is made from materials that can withstand high temperatures and that any heating elements are safely installed.
Energy Efficiency
An insulated enclosure can retain heat more effectively, reducing the energy required to maintain the desired temperature. This not only improves print quality but also makes your printing process more energy-efficient.
In conclusion, temperature plays a pivotal role in the success of 3D printing. By utilizing an enclosure to manage temperature effectively, you can significantly improve the quality of your prints while also ensuring a safe and energy-efficient printing process.
Optimizing Filament Storage within Your Enclosure
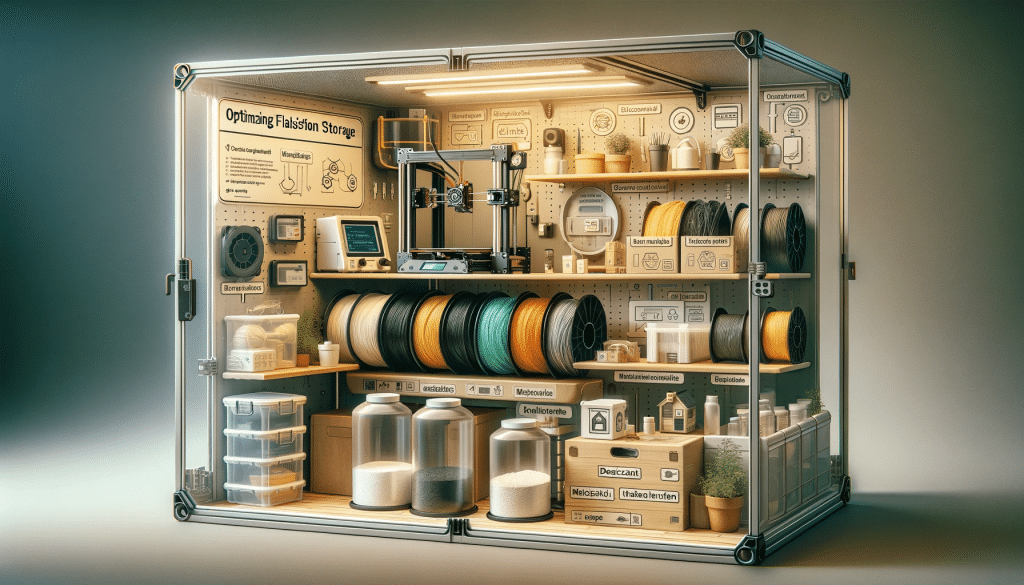
Storing filament correctly is as crucial as any other aspect of 3D printing. Proper storage can prevent common issues like moisture absorption, dust accumulation, and degradation of filament quality. Integrating filament storage into your 3D printer enclosure not only saves space but also helps maintain the filament in an ideal environment. Let’s delve into how to optimize filament storage within your enclosure.
Understanding Filament Sensitivity
Filaments, particularly those like PLA, ABS, and Nylon, are hygroscopic, meaning they absorb moisture from the air. This moisture can lead to printing problems like poor adhesion, bubbling, and weakened structural integrity. Keeping your filaments dry and clean is therefore essential.
Creating a Controlled Environment
An enclosure offers an opportunity to create a controlled environment not just for printing but also for filament storage. By storing filaments in the enclosure, you can keep them at a consistent temperature and humidity level, reducing the risk of moisture absorption.
Moisture-Proof Storage Solutions
Consider integrating moisture-proof storage solutions within your enclosure. This can be as simple as airtight containers with desiccants, like silica gel packets, to absorb any moisture. Alternatively, you can install a dehumidifier in your enclosure to maintain a dry environment.
Accessibility and Organization
Organize your filaments for easy accessibility. Spool holders or racks can be installed within the enclosure, allowing you to easily switch between different filaments. Labeling filaments with type, color, and optimal printing temperature can also streamline your printing process.
Protecting from Dust and Debris
In addition to moisture, dust and debris can affect filament quality and, consequently, your prints. Storing filaments in an enclosure helps shield them from airborne particles. Regular cleaning of the enclosure and filament spools will further minimize contamination risks.
Utilizing Transparent Containers
If possible, use transparent containers or storage solutions that allow you to easily identify the filament type and color without opening the container. This not only saves time but also prevents unnecessary exposure to air.
Balancing Space and Functionality
When designing your enclosure, balance the space dedicated to filament storage with the space needed for the printer and other functions. Efficient use of space can maximize the functionality of your enclosure without compromising the printing area.
Regular Inspection and Maintenance
Regularly inspect your filaments for any signs of degradation. Replace desiccants as needed and check the seals of your containers to ensure they remain airtight.
In conclusion, optimizing filament storage within your 3D printer enclosure is a key step in ensuring high-quality prints. By creating a controlled environment that protects filaments from moisture, dust, and temperature fluctuations, you can maintain the integrity of your filaments and enhance your overall 3D printing experience.
Customizing and Upgrading Your 3D Printer Enclosure
A 3D printer enclosure is not just a protective cover for your printer; it’s a versatile space that can be customized and upgraded to meet your specific printing needs. Customizations can range from simple additions to more complex upgrades, enhancing the functionality, efficiency, and safety of your 3D printing setup. Let’s explore some effective ways to customize and upgrade your 3D printer enclosure.
Adding Advanced Temperature Control
While basic temperature management is crucial, advanced control systems can take your printing to the next level. Consider installing automated temperature controllers that adjust the internal environment based on the material being printed. This can ensure optimal conditions for a wide range of filaments.
Integrating Filament Dryers
For materials that are particularly sensitive to moisture, integrating a filament dryer into your enclosure can be a game-changer. These devices actively remove moisture from the filament before and during printing, significantly improving print quality.
Enhanced Lighting and Visibility
Good lighting is essential for monitoring print progress and ensuring quality. Upgrade your enclosure with LED lighting that provides clear visibility without generating excess heat. Adjustable and dimmable lights can be particularly useful.
Incorporating Monitoring Systems
For those who like to keep a close eye on their prints, incorporating cameras and monitoring systems within the enclosure can be incredibly beneficial. These systems allow for remote monitoring and time-lapse recording of your prints.
Soundproofing for Noise Reduction
3D printers can be noisy, which is a concern in shared spaces. Adding soundproofing materials to your enclosure can significantly reduce noise levels, making your printing process more unobtrusive and pleasant.
Ventilation Upgrades
If you’re working with materials that emit fumes, upgrading your ventilation system is crucial. High-efficiency particulate air (HEPA) filters and stronger fans can ensure better air quality and fume extraction.
Access and Ergonomics
Customize the access points of your enclosure for ease of use. Sliding doors, removable panels, or hinges can make it easier to access your printer for maintenance and filament changes. Ergonomic design considerations can make your printing process more comfortable and efficient.
Aesthetics and Personalization
Don’t forget the visual appeal! Customize the look of your enclosure to match your personal style or the decor of the space it’s in. This can include painting, decals, or even using materials that complement your workspace.
Safety Features
Finally, consider upgrading safety features. This could include fire suppression systems, automatic shut-off switches, or enhanced electrical safety features. These upgrades can provide peace of mind, especially during long or unattended prints.
In conclusion, customizing and upgrading your 3D printer enclosure can significantly enhance your 3D printing experience. From improved print quality to increased safety and convenience, these modifications can turn a simple enclosure into a state-of-the-art printing environment.
Conclusion: Maximizing Your 3D Printing Potential
As we’ve explored throughout this comprehensive guide, a well-designed and thoughtfully equipped 3D printer enclosure is much more than a simple cover for your printer. It’s a critical component that enhances the quality, safety, and efficiency of your 3D printing endeavors. Let’s summarize the key takeaways and offer some final thoughts on maximizing your 3D printing potential with the right enclosure.
Summarizing Key Points
- The Importance of Enclosures: Enclosures play a vital role in maintaining a controlled printing environment, leading to improved print quality and consistency.
- DIY and IKEA Hacks: Building your own enclosure or creatively using IKEA products can be cost-effective and rewarding, offering customization to fit your specific needs.
- Integrating Heaters and Ventilation: Proper temperature control and ventilation are essential for working with different materials and ensuring safety.
- Material Selection: Choosing the right materials for your enclosure impacts its effectiveness in temperature management and its overall safety.
- Filament Storage: Optimizing filament storage within your enclosure is crucial for maintaining filament quality and ensuring successful prints.
- Customization and Upgrades: Personalizing your enclosure with upgrades like advanced temperature control, soundproofing, and monitoring systems can significantly enhance your printing experience.
Embracing Innovation and Safety
In the ever-evolving world of 3D printing, innovation is key. An enclosure that suits your specific printing requirements can be a game-changer. However, always prioritize safety, whether it’s through effective ventilation, using fire-resistant materials, or installing safety devices.
Encouraging Experimentation
We encourage you to experiment with different designs and features for your enclosure. Each 3D printing setup is unique, and finding the right combination of features and customizations can lead to remarkable improvements in your printing process.
Continuous Learning and Improvement
Finally, remember that 3D printing is a journey of continuous learning and improvement. Your enclosure can evolve with your skills and needs. Stay informed about new materials, technologies, and techniques that can further enhance your 3D printing experience.
In conclusion, a 3D printer enclosure, whether DIY-built or commercially purchased, is an invaluable addition to your 3D printing setup. By focusing on the key aspects we’ve discussed, you can create an environment that not only protects your printer but also elevates the quality and enjoyment of your 3D printing projects.


