")
This tutorial will teach us how to create a dog in 3D. SelfCAD is the 3D modeling program that we are using. With SelfCAD, you can unquestionably create 3D models without investing an enormous amount of time in learning, and you can quickly create both simple and complex designs. We will use SelfCAD’s 3D Shapes, Vertex Selection, Move, Scale, and other tools.
We’ll start by creating an evolving cube in three dimensions. The simple act of learning how to 3D design a dog will teach you how to use the various SelfCAD tools.
You can also go through other articles on our website, like how to design a 3D pillow.
So let’s start!
How to Create a 3D Dog in SelfCAD (3D Modeling Software)
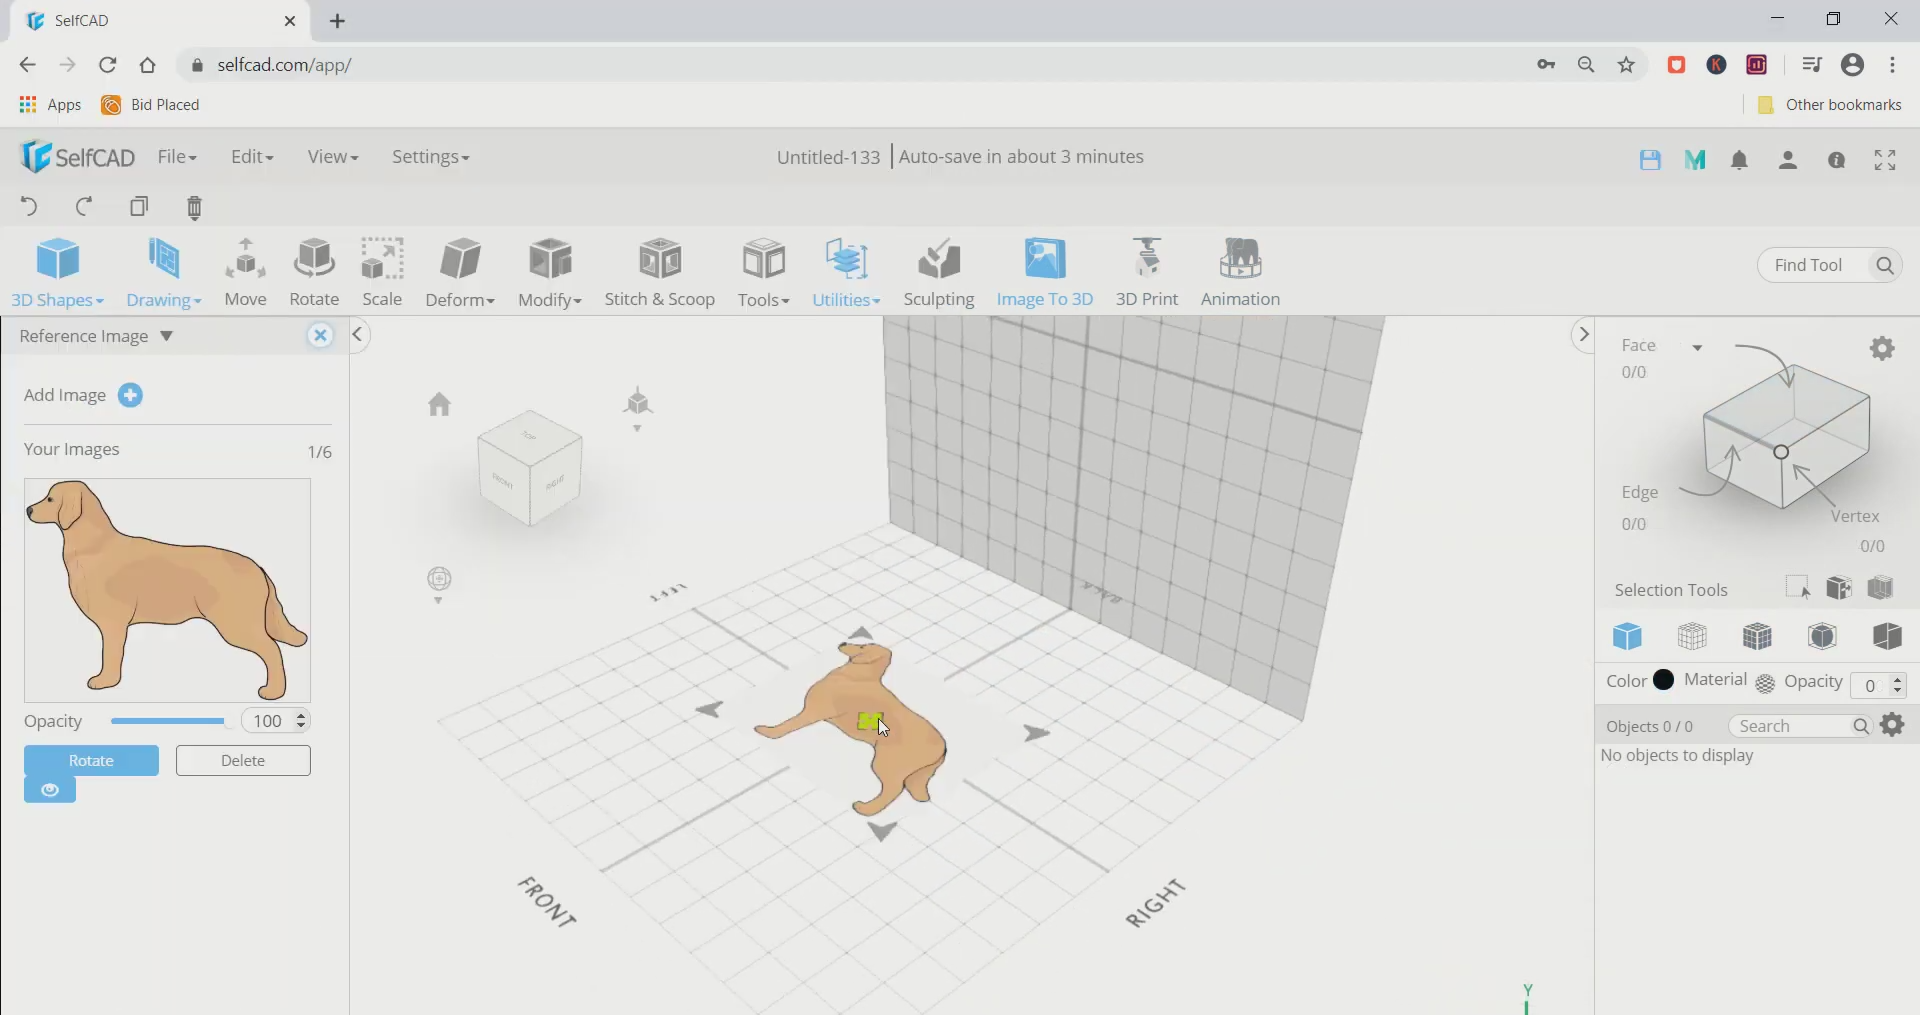
Step1: Configure the planes and insert a reference image
Go to settings and choose the preferred option first. Set the back/front setting on the plane. A reference image of a dog on a vertical plane should then be added in views.

How to Create a 3D Dog in SelfCAD (3D Modeling Software)
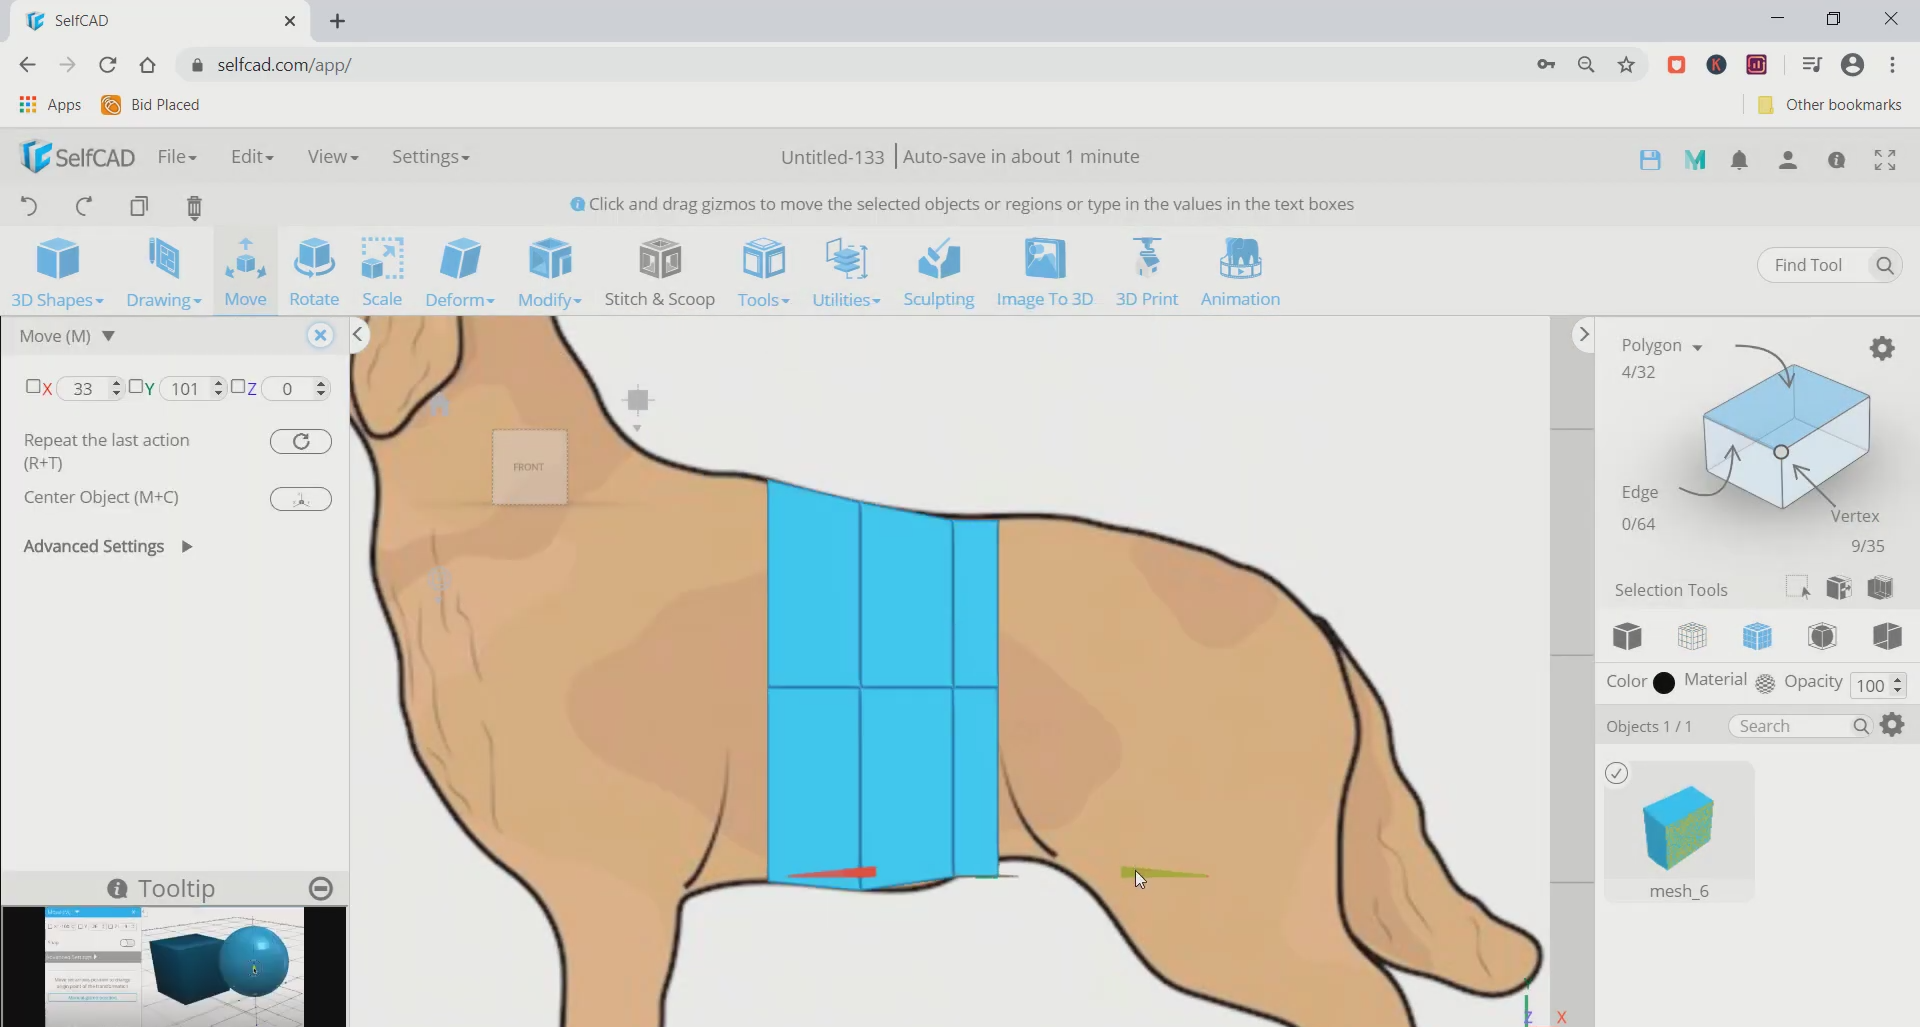
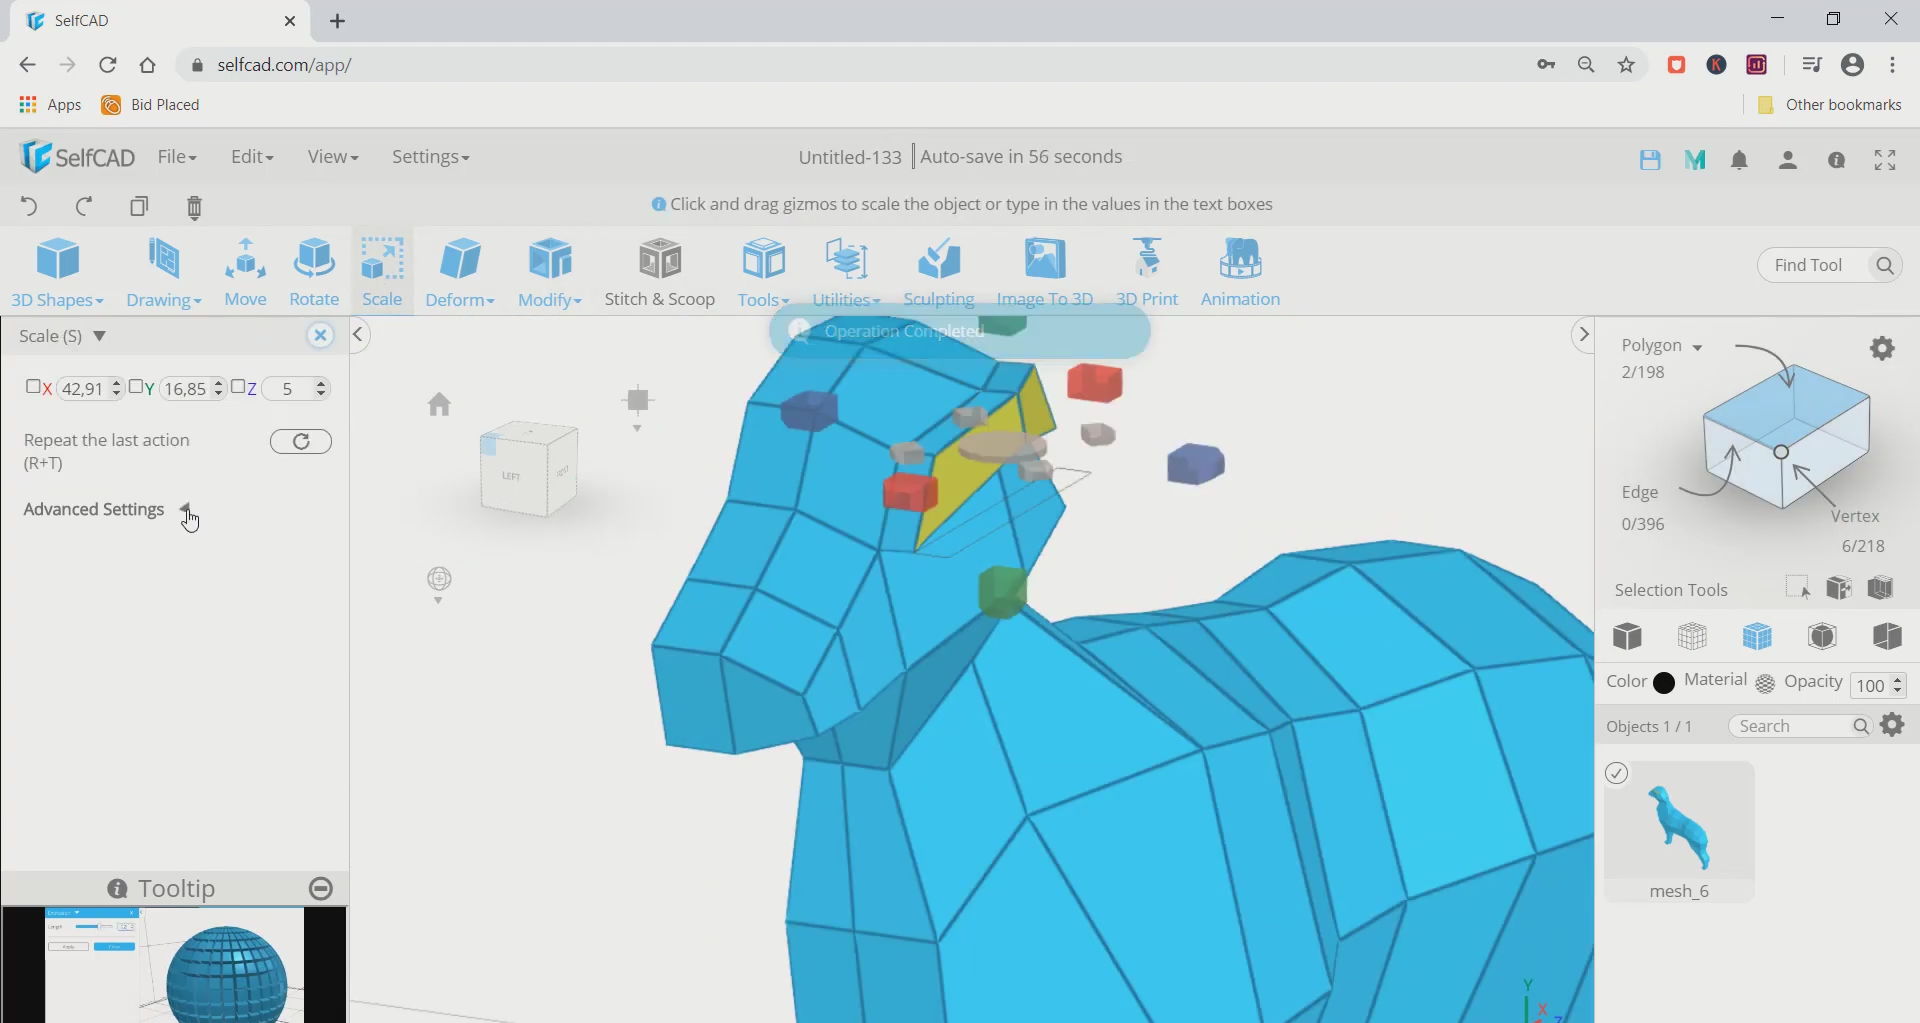
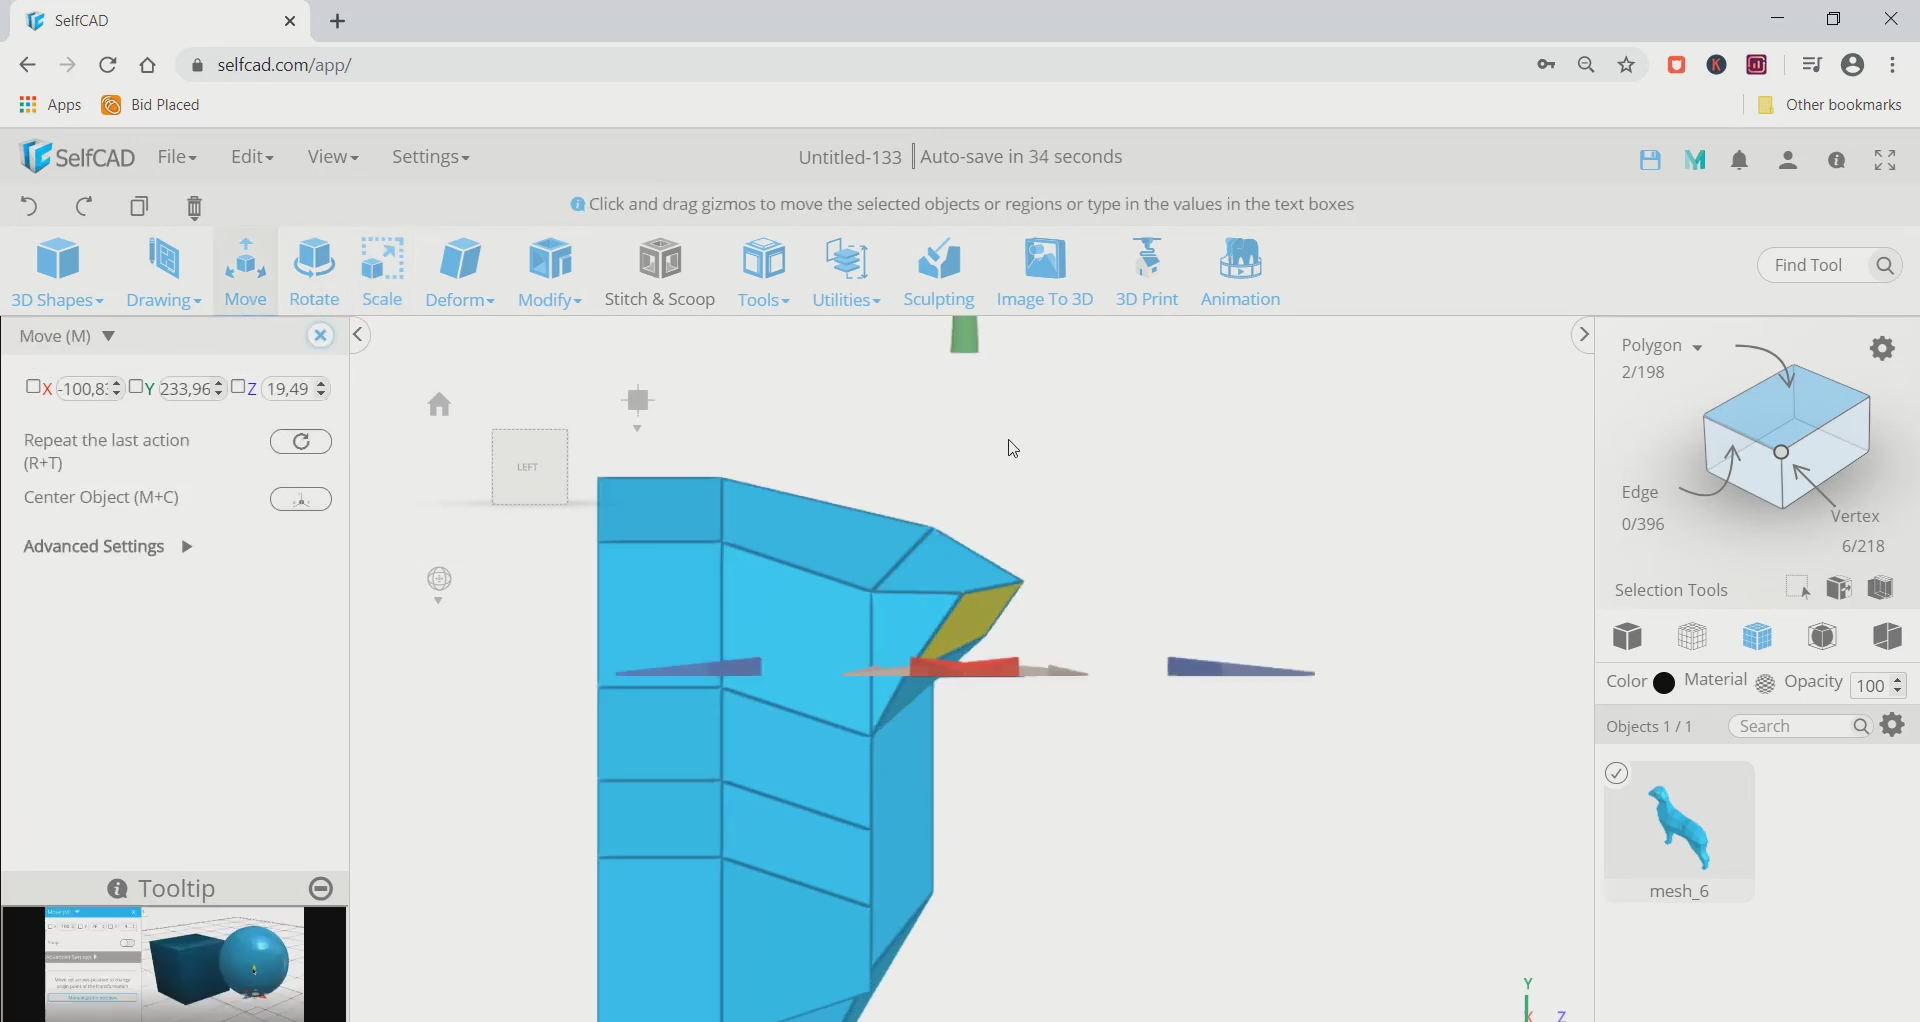
Step2: Place, move, and scale a cube
Then select 3D shapes and add a cube to the active interface. Utilize the move tool to move to the top. Then, using the scale tool, scale it from both sides toward the interior along the red axis.


How to Create a 3D Dog in SelfCAD (3D Modeling Software)
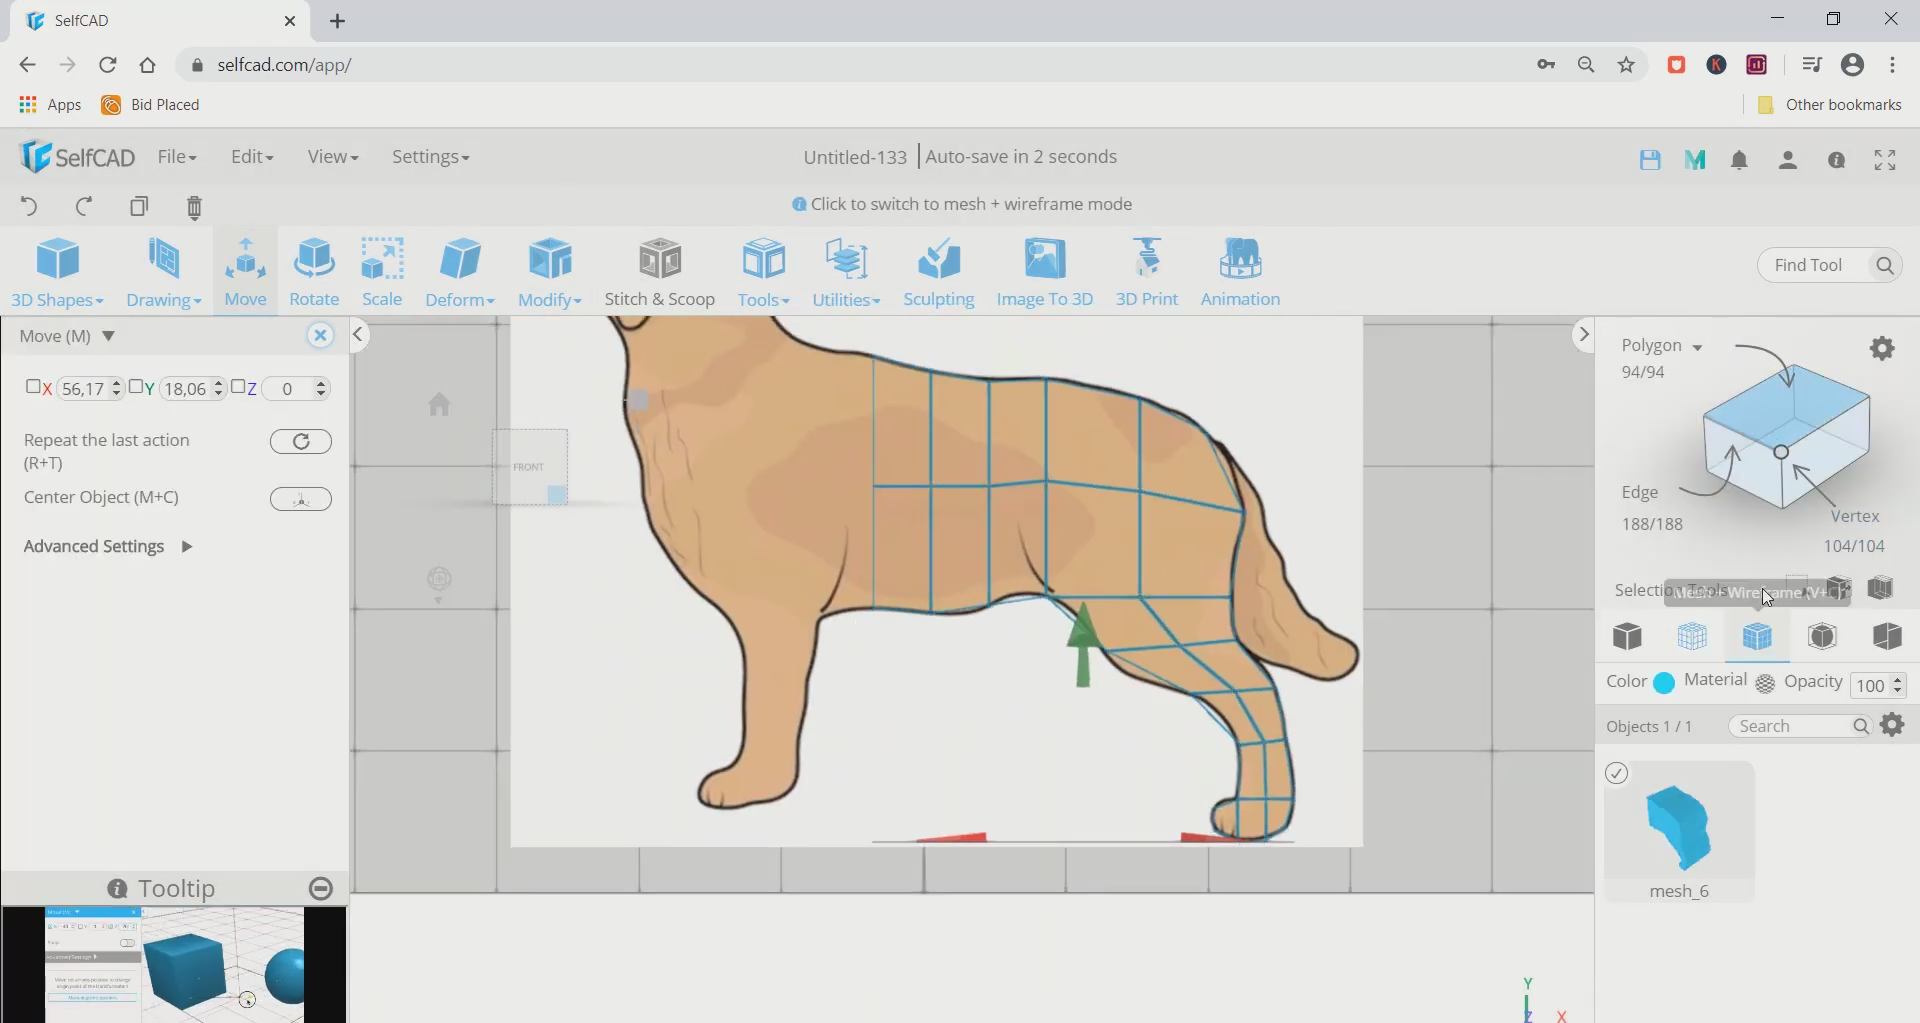
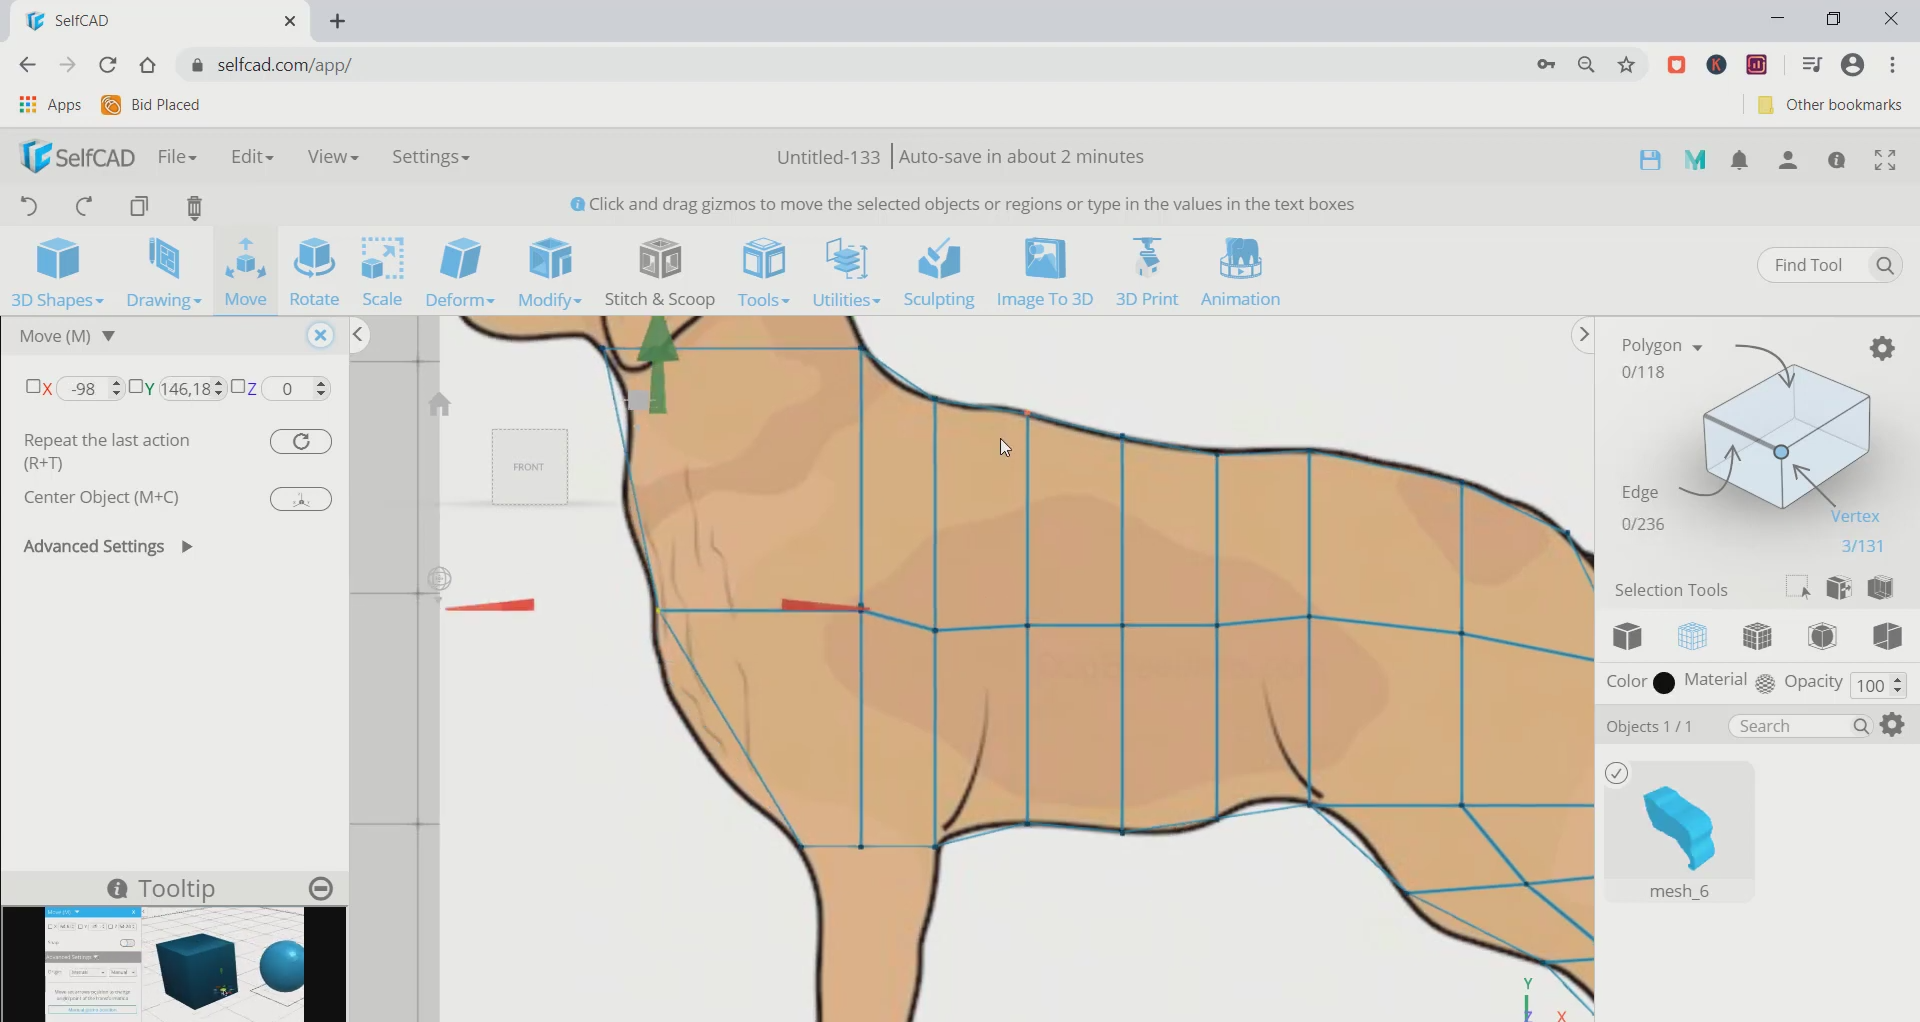
Step3: Edit vertices and 3D trace the body of the dog
Select all vertices from the top and move them downward after selecting the vertex. The vertices should then be moved and placed in accordance with the dog’s body. The lower vertices should be used for the same procedure.


How to Create a 3D Dog in SelfCAD (3D Modeling Software)
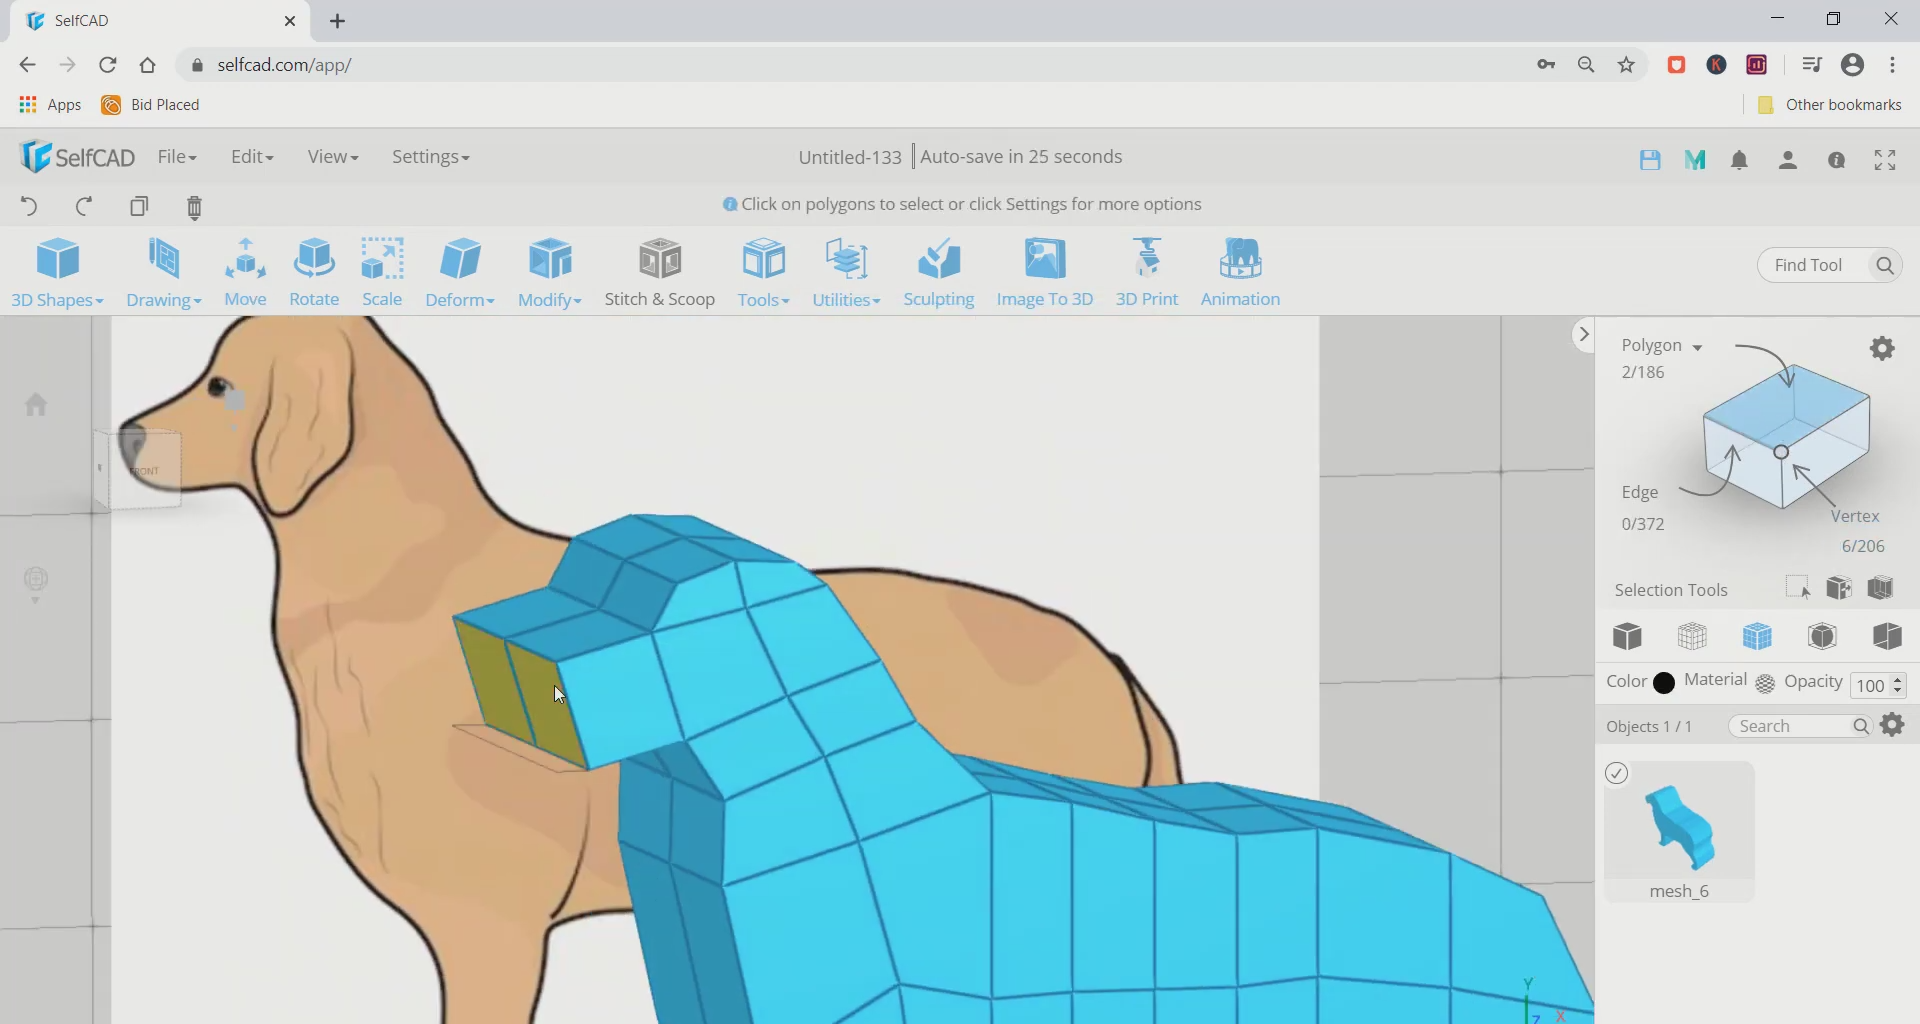
Step4: Extrude faces to finish the dog’s body.
Next, select the cube’s back face using polygon selection. Then select the extrusion tool under modifying. Extrude it until there are five. After that, scale the side faces using the dog’s body as a reference. Replicate this action to cover the dog’s body.


How to Create a 3D Dog in SelfCAD (3D Modeling Software)
Step5: Repeat the previous steps to cover the dog’s legs and upper body.
Select the object’s four bottom faces closest to the corners now. Complete the legs by going through the same step we did for the body. After that, repeat the process to cover the dog’s upper body and forelegs.


How to Create a 3D Dog in SelfCAD (3D Modeling Software)
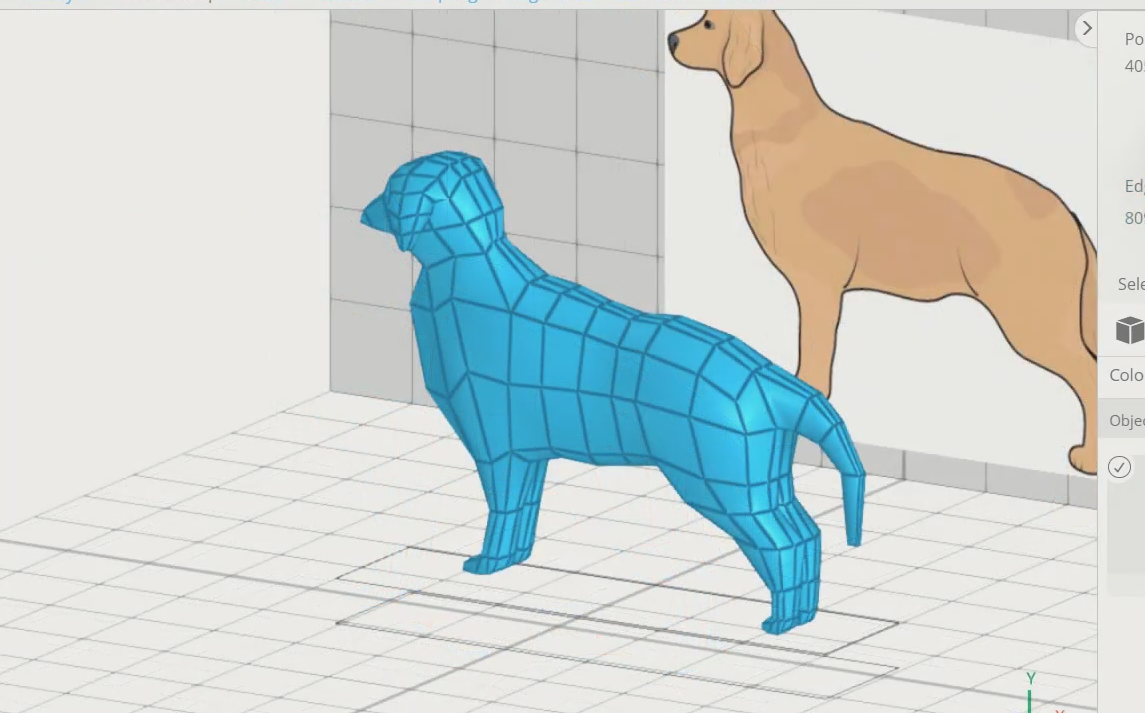
Step6: Finish the head in a similar way.
Next, finish the dog’s head using the same method we used to finish the other body parts. The dog’s entire exterior body is now concealed. Select one of the side polygons using polygon selection, and then scale it inward.

How to Create a 3D Dog in SelfCAD (3D Modeling Software)
Step7: Make the edges right. Move the dog inward or outward
Select all the edges of one side of the face using edge selection, then move it into a suitable position. After that, repeat this action with each set of edges. Move them so that the dogs’ bodies begin to appear three-dimensional. For more clearance, please see the images.


How to Create a 3D Dog in SelfCAD (3D Modeling Software)
Step8: Make the dog’s ears by repeating the previous action.
The top two faces of the head part should then be chosen. Scale it up to a larger size and extrude it by a factor of 5. Next, rotate it by 55 degrees along the red axis using the rotate tool. After that, scale and extrude the faces to give them the appearance of an ear.


How to Create a 3D Dog in SelfCAD (3D Modeling Software)
Step9: Remove the faces and reflect the remaining objects.
At this point, select and remove every body face on the flat side. Next, select the final item and select Mirror from the utility menu. Then project a few faces that resemble the tail from the back.


How to Create a 3D Dog in SelfCAD (3D Modeling Software)
Step10: Make the tail longer and rotate it
Then, rotate it by 30 degrees along the red axis. Do this step three to four times.

Conclusion: Hence, we created a 3D dog in SelfCAD
SelfCAD makes 3D designing simpler than before, as we’ve already seen. We used various SelfCAD components and tools to create 3D designs. Making a model in 3D, regardless of how simple, large, or complex it is, is entertaining. An analogous method can 3D-design other 3D objects of your choice.
Let us know in the comments below or on our Facebook page to let us know your ideas, and we would appreciate seeing pictures of your works of art!


