
Successful prints require proper 3D printer bed cleaning. However, many 3D printing users have learned the hard way. Not cleaning the 3D printer bed properly can lead to problems, from getting prints stuck on the nozzle to bad surface quality on your finished print. Discover how to clean 3D printer bed like a pro for three different 3D printer bed types!
One of the most frequent causes of 3D prints failing is a part separating from the print bed in the middle of the process. It is essential to guarantee proper bed adhesion to achieve successful printing.
Although there are many ways to keep your parts stuck, keeping the print bed clean is one of the simplest. Regular bed cleaning will enhance print quality and help parts adhere better.
This article will examine the best methods for cleaning some of the most popular bed adhesives, including tape, glass, and PEI. Remember that spilled liquids can seriously harm a printer when using these techniques. Before cleaning, we also advise removing your bed from the printer (if possible).
Let’s get going now.
How To Clean 3D Printer Bed Like A Pro
PEI Sheet

Polyetherimide (PEI) sheets are gaining popularity in enhancing bed adhesion. When cool, they quickly release most prints and offer an excellent grip on various materials.
The sheets are simple to use and apply and typically don’t require additional adhesives like glue or tape. Unfortunately, to provide the best adhesion, PEI sheets need to be cleaned frequently. A sheet loses grip when repeatedly touched because oil is left on it.
A sheet’s surface can also be damaged and its adhesion reduced by rough scraping. Fortunately, consistent cleaning and maintenance will guarantee that your prints stay adherent.
To clean your sheet, use an unscented IPA with a concentration greater than 70%. When the bed has cooled, liberally spray it with IPA, then wipe the surface with a dry cloth or paper towel. Most of the oils on the sheet will be removed by doing this.
Acetone is also effective at removing any remaining plastic from the bed. Simply acetone-dampen a cloth and gently wipe the bed’s surface with the dampened cloth. Since acetone is highly flammable and the vapors could get into the printer’s electronics, we strongly advise carrying out this task in a well-ventilated area.
We also advise using fine-grit (1,500+) sandpaper if you’ve had your PEI sheet for a while. To remove minor dings and gouges, gently rub the sheet with the sandpaper in even smooth and smooth circles.
WHEN TO CLEAN IT

The brand you’re using, and the volume of printing you’re doing will determine the best time to clean your PEI sheet. Most manufacturers advise wiping with IPA after a few prints for the best adhesion. Try cleaning with acetone and sanding to revitalize the print surface after a few months of printing.
When the methods are no longer effective at restoring the print surface, you’ll probably need to buy a new PEI sheet. The time frame for these replacements can range from monthly to annual, depending on your printing activity and the brand.

Check best PEI Sheet deals on Amazon.com
How To Clean 3D Printer Bed Like A Pro
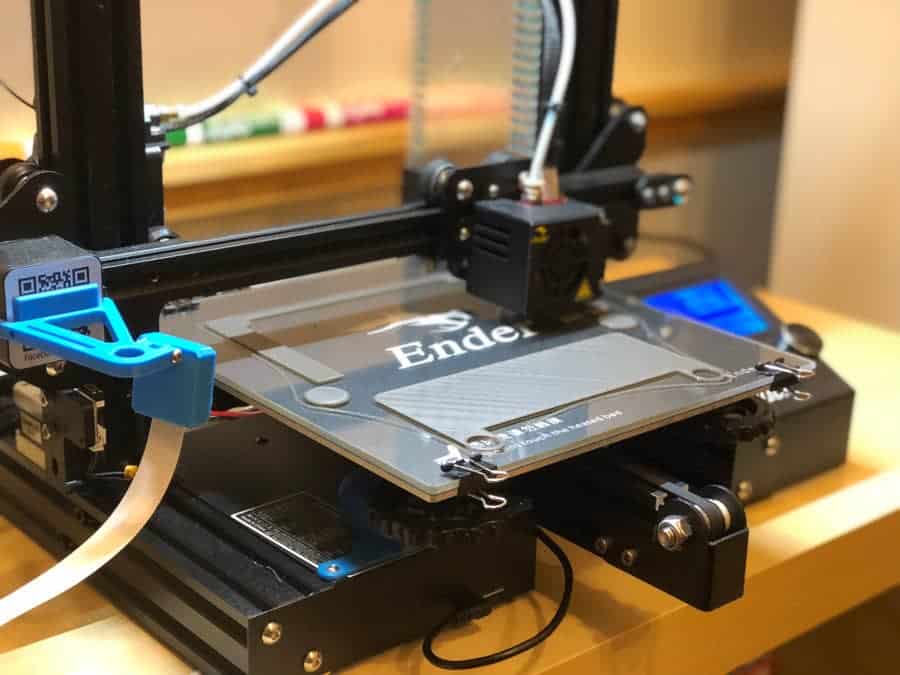
Glass
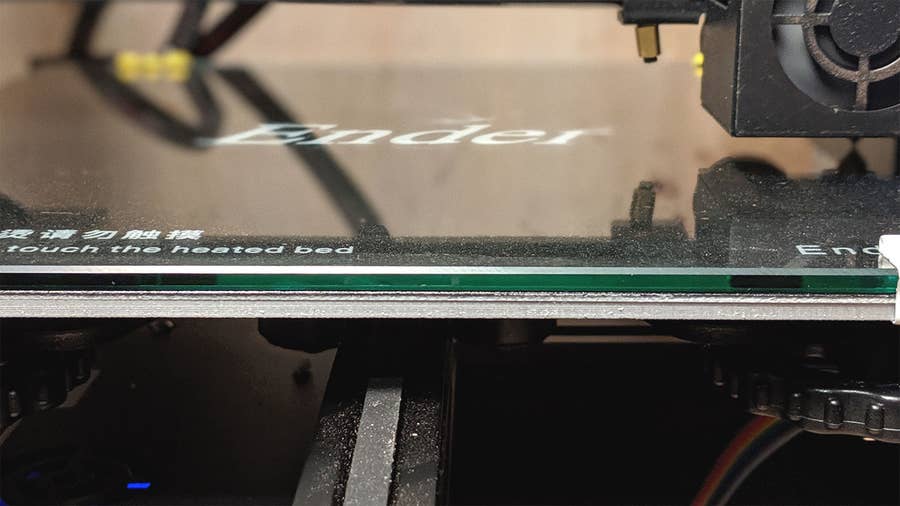
Glass is another popular bed material. Glass beds are preferred because they provide a consistent, flat surface across the base of a print. And they are much more long-lasting than PEI.
The glass alone is rarely sufficient to ensure that a print adheres, especially on non-heated beds. These beds are frequently used with other adhesives like glue sticks and hairspray. Therefore, routine cleaning is required to stop the buildup of these adhesives.
Even though this section focuses on glass beds, it’s essential to remember that some of these steps might apply to other bed types.
HOW TO CLEAN IT
Using a scraper to clean your glass bed is the simplest method. Heat the bed if you can to make the leftover material as soft and simple to remove as you can. Next, scrape off any leftover material using the scraper.
Using a scraper to clean your glass bed is the simplest method. Heat the bed if you can to make the leftover material as soft and simple to remove as you can. Next, scrape off any leftover material using the scraper.
If scraping doesn’t work, try scrubbing the glass in warm water and soap. Even though it’s straightforward, this method works wonders at removing adhesives like glue and hairspray.
You’ll probably need to use force when cleaning with this method, just like when using the scraper, but be careful! The machine’s power supply, heating element, and other delicate electronics are all severely vulnerable to damage from spilled water. Also, remember that this method should only be used if you can remove the printer’s bed.
High concentrations of IPA, window cleaner, and sterile alcohol pads are all capable of removing residue and restoring the glass surface. A specialized cleaning solution can also achieve a highly efficient and long-lasting cleaning. Applying an overly potent cleaning agent is not advised. You might seriously harm the bed, the printer, or any other adhesives you might be utilizing. Contact your manufacturer for the best cleaning procedures for your particular machine.
WHEN TO CLEAN IT
The best time to clean your bed depends on your particular printing routine. We advise scraping the bed after each print to prevent any residue buildup. Try scrubbing with soap and water once prints stop adhering (usually after about a month). At the latest, you’ll most likely need to turn to IPA and other specialized cleaning solutions after two to four months.
Check best Ender 3 Glass bed deals on Amazon.com
How To Clean 3D Printer Bed Like A Pro
Adhesive Tape

Another tried-and-true technique for improving bed adhesion is adhesive tape. The most famous tape types are masking tape and painter’s tape, though kapton and other tapes are also widely used. Today, printers with non-heated beds are the most typical devices to use.
The simplicity of the use of adhesive tapes contributes to their popularity. They are readily available at most hardware stores, effortless to use, and reasonably priced. However, there are disadvantages to adhesive tapes: When a print is removed, the tape frequently peels away, necessitating frequent reapplication.
HOW TO CLEAN IT
Unfortunately, due to its flimsiness, adhesive tape is one of the hardest bed adhesives to clean. However, we’ve discovered that one of the best ways to clean it is with gentle scraping. To avoid tearing any of the tapes, scrape evenly and gently. Just use a spatula to scrape the tape’s surface to eliminate any lingering filament.
Any areas of the bed with peeled or torn tape should be patched while cleaning. When restoring, be mindful not to add too many layers, as this may cause the bed’s surface to become uneven. Holes frequently develop in the middle of the bed, where components are taken out most often.
It’s probably time to resurface the entire bed if you notice that your tape is beginning to resemble a piece of Swiss cheese. Peel and scrape the previous tape layer off first. Then, remove any remaining adhesive by washing the bed underneath with soap and water.
You can apply a fresh layer of tape once the old tape has been taken off and the bed has been cleaned and dried. Stretch the tape carefully across the entire surface of the bed, using as few pieces as you can. Then, until the surface is as level as possible, gently press any air bubbles from beneath the tape.
WHEN TO CLEAN IT
Because of its fragility, the adhesive tape needs to be changed much more frequently than other adhesives like PEI. We recommend lightly scraping the bed after each print to eliminate any stuck-on filament. Depending on how often you print, you might need to resurface the bed daily, weekly, or monthly.
Let us know in the comments below or on our Facebook page to let us know your ideas, and we would appreciate seeing pictures of your works of art!


