Table of Contents
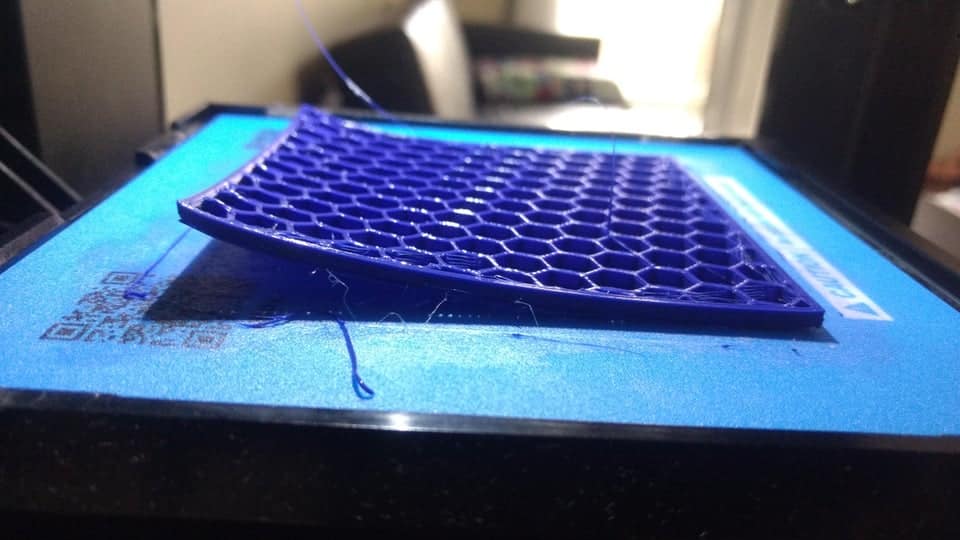
3D Warping and curling of 3D prints is a typical issue among 3D printing novices. It commonly happens when using FDM printing technology to print ABS/PLA filaments.
The main reason is that plastic filaments such as ABS and PLA are melted at a high temperature and extruded out of the nozzle when printing the first layer. Once the melted filaments are exposed to lower indoor temperatures, the plastic material cools down quickly, causing the model’s edges to bend upward.
3D print warping is the term for this curling process. Warping and curling will affect the printing outcome and may also result in printing failure.
What is 3D Warping and Why Does It Happen?
If the bottom borders of your 3D print are curled up, you know it’s been wrecked by warping. This can be caused by a variety of factors, but the filament used in the 3D printing process typically shrinks during the curing and cooling stages. Whatever the cause, the model’s strain develops until the bottom layers begin to lift or drag. The following are the reasons:
- Temperature variations between extruded layers are enormous.
- Larger footprint layers above the bed face layer
- Higher infill percentage, increases the material for shrinking,
What is the Best Way to Avoid and Stop 3D Print Warping?
3D Print Warping: 10 Quick And Easy Fix 1. Clean the Build Plate And the Nozzle

Make sure the nozzles and base are clean before you start printing. First, make sure that the nozzle’s tip is free of debris. The simplest method is to clean the nozzle after heating it to 210°C. Please be aware that the temperature of the nozzle is exceptionally high and should be cleaned with a thick cloth. It is also critical to keep the hotbed clean to achieve the best adhesion.
3D Print Warping: 10 Quick And Easy Fix 2. Level the Build Plate
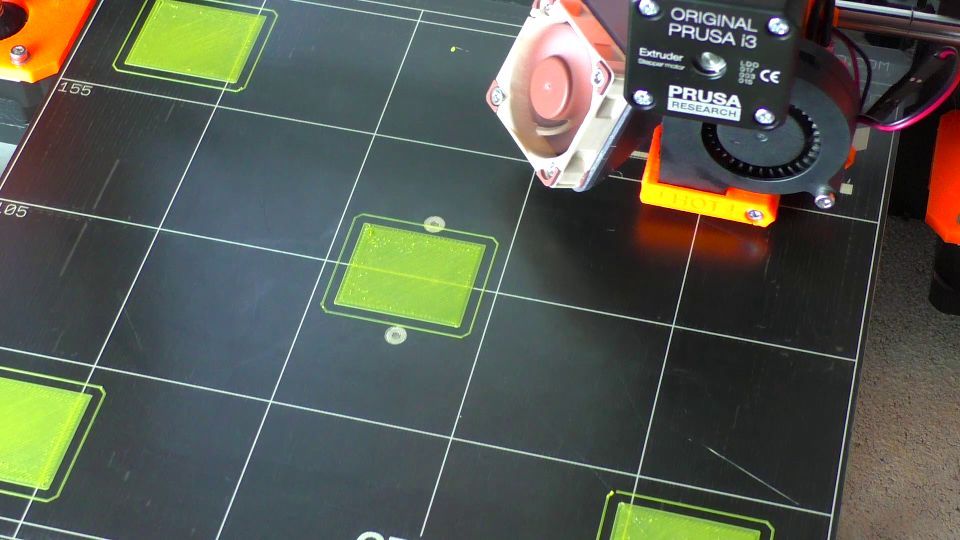
You should double-check that the printer is calibrated and aligned appropriately. If the bed isn’t level, the first layer will adhere unevenly. The nozzle should not be too far away from the bed or too close. The first layer will not cling to the hotbed if the nozzle is too far away from it. When the nozzle is too close to the bed, it drags and damages the hotbed, making it impossible to extrude the filament smoothly.
Placing a sheet of A4 paper between the nozzle and the hotbed is easy to calibrate the hotbed correctly. The hotbed is leveled when the paper cannot be pushed forward but can be drawn backward. You may need to repeat the test to ensure that all four corners are correctly aligned.
3D Print Warping: 10 Quick And Easy Fix 3. Use Brim or Raft
In general, prints with a bigger hotbed contact area have better adherence. The adhesion of the hotbed and the stabilization of prints are aided by both multi-layer and single-layer adhesion. As a result, adding a “Raft” or “Brim” to slicing software to provide prints with a printing foundation is frequently advised.
3D Print Warping: 10 Quick And Easy Fix 4. Reduce First Layer Printing Speed
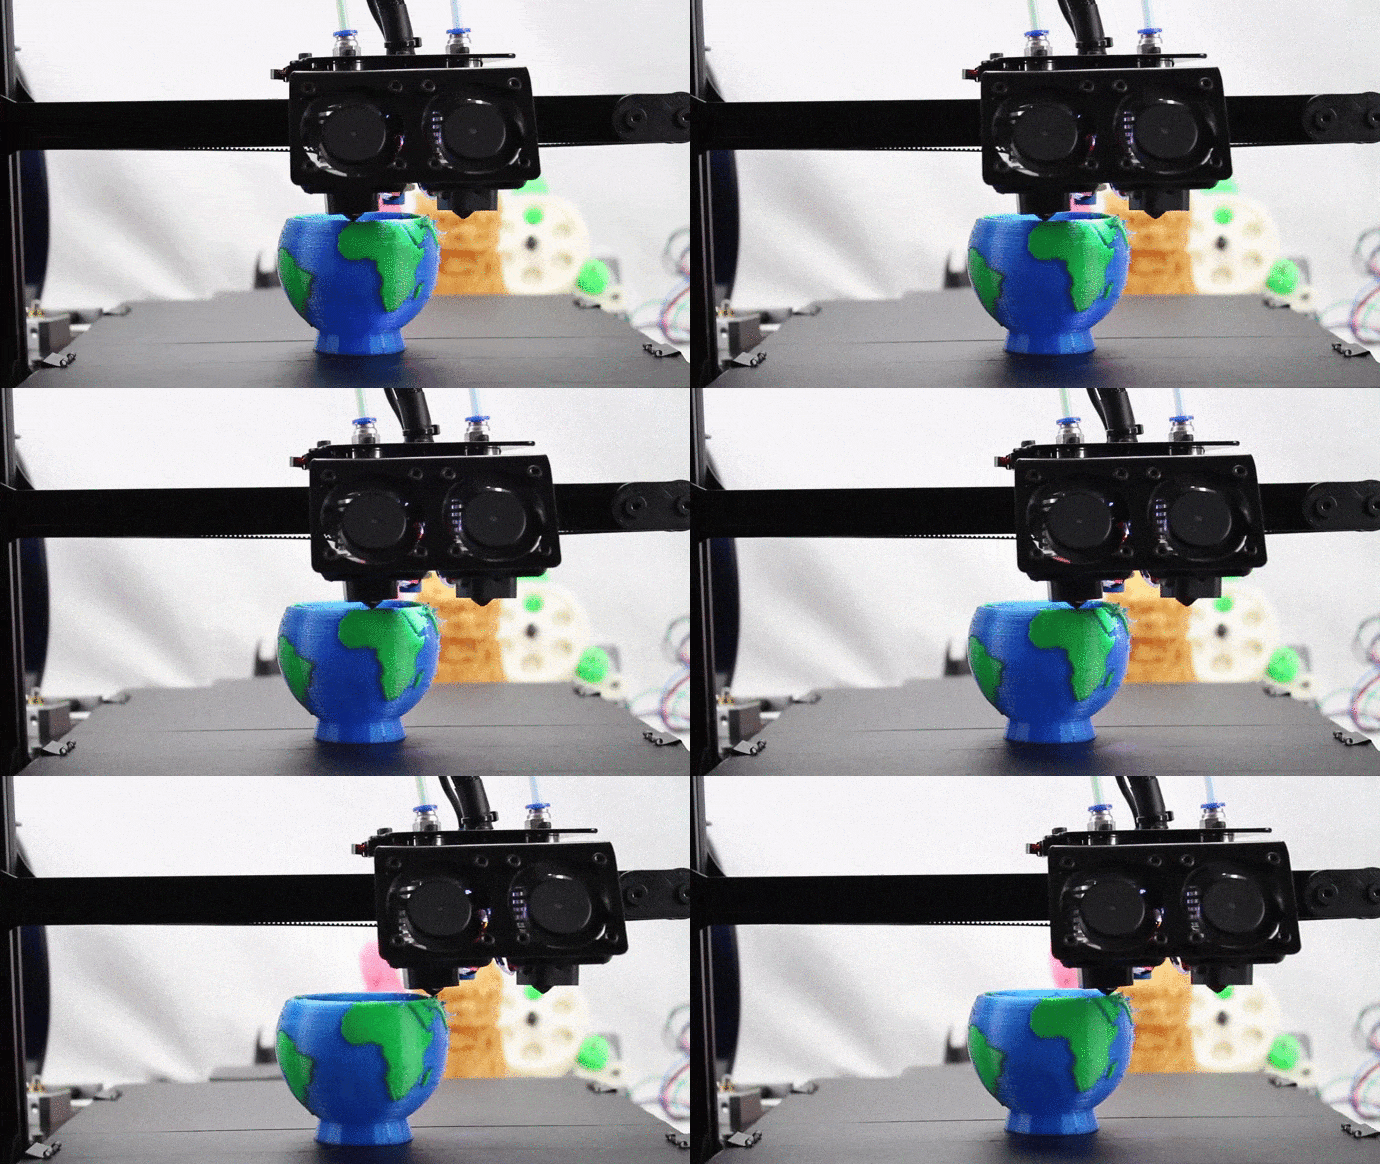
The melted material adheres effectively to the heating bed when the first layer’s printing speed is reduced. For the first layer, a speed of 10mm/s is recommended. Lower print speeds also imply more precise printing.
3D Print Warping: 10 Quick And Easy Fix 5. Raise the Temperature
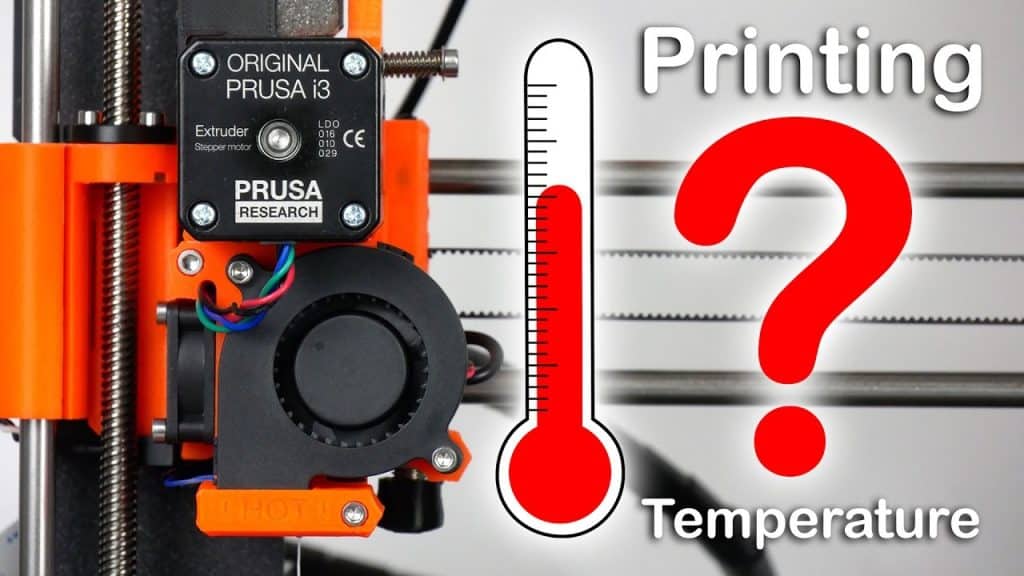
As plastic filaments cool, they shrink and pull away from the hotbed. You may create a warmer platform and keep the first layer warm by raising the hotbed’s temperature, preventing shrinkage and separation. The temperature of the PLA bed can be increased to 60°C. In addition, to improve adherence, the first layer’s printing temperature should be adjusted to around 205°C (see this thread for recommended temperature settings for all filaments.) Stringing can occur if you print after the first layer at too high a temperature.)
3D Print Warping: 10 Quick And Easy Fix 6. Increase the Initial Layer Width
It would also be beneficial to increase the line width of the first layer. The greater the extrusion force between the filaments and the printing platform, the broader the line width. The more material ejected by the nozzle. This can help reduce 3D print warping by increasing the adhesion between the model and the platform.
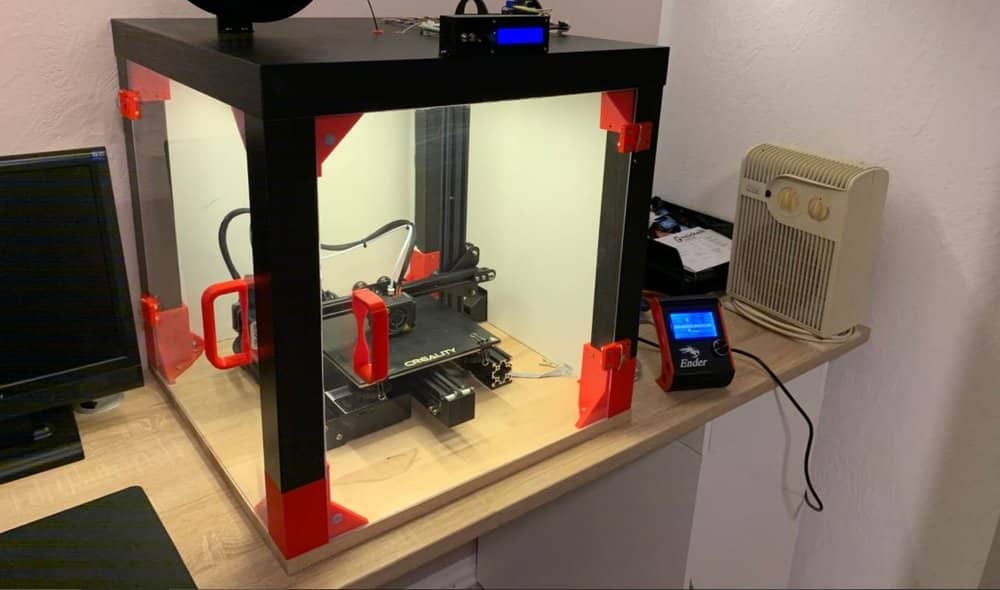
3D Print Warping: 10 Quick And Easy Fix 7. Use Enclosure
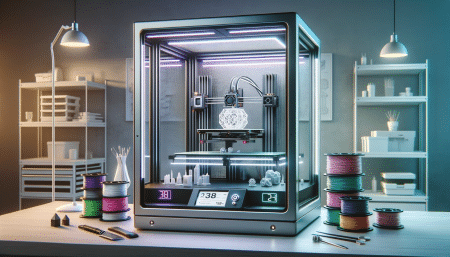
ABS is a more rigid material to print than PLA. Finding the correct print settings for ABS consumables might be challenging for beginners. The enclosed housing would assist in maintaining a consistent and high printing temperature, reducing the risk of 3D printing curling.
3D Print Warping: 10 Quick And Easy Fix 8. Cover the Build Plate with Tape or Glue

3D Print Warping: 10 Quick And Easy Fix 9. Lower Infill Percentage

When you use more plastic, the pulling force created during the cooling process changes the shape of the prints. Thus, cutting down on the material is another excellent technique to limit the risk of distortion and bending. The slicing software’s default filling rate is between 0 and 100 percent in most circumstances.
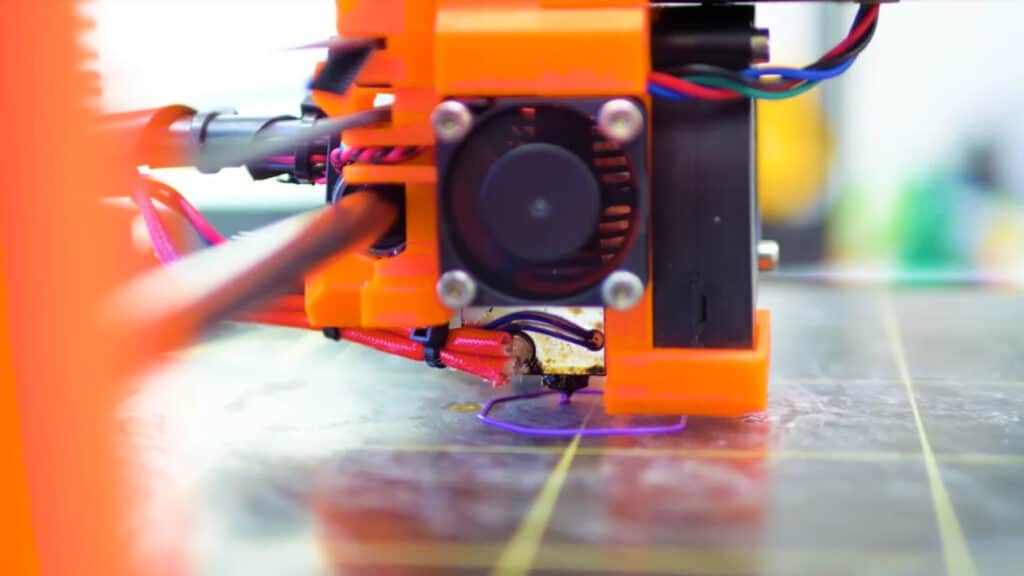
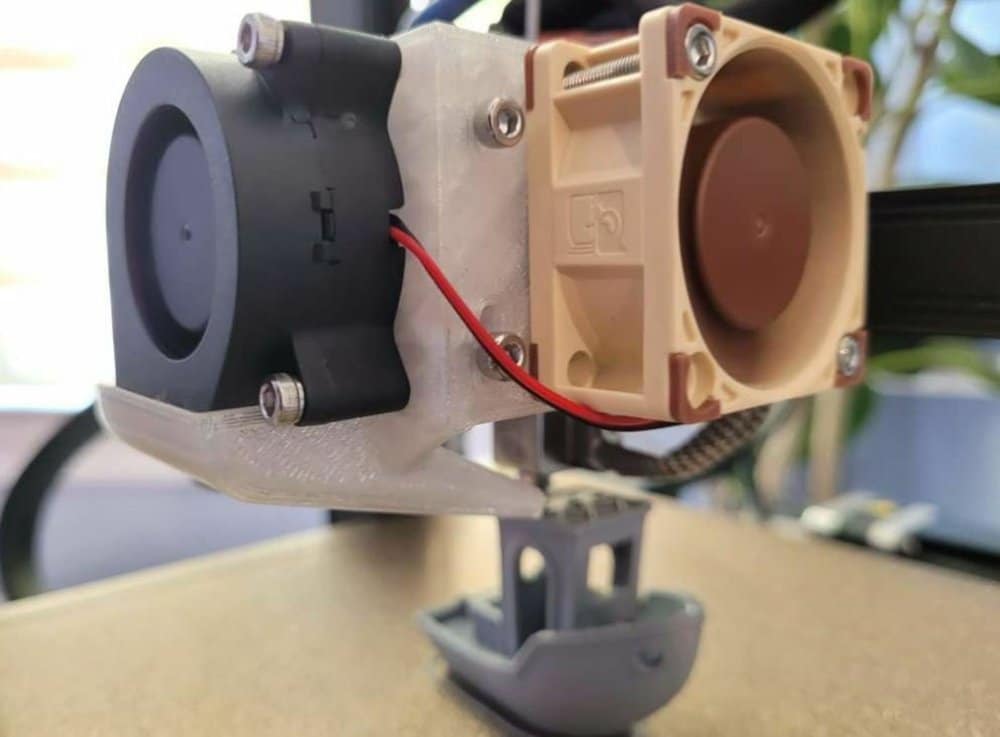
3D Print Warping: 10 Quick And Easy Fix 10. For the first layers, turn off the cooling fan
If you have any suggestions for tips that might have left out, please leave a comment below.


