Table of Contents
Is there something odd about your 3D prints? You may need to calibrate your 3D printer extruder! Continue reading to learn how to make your 3D printer extruder calibration in 6 easy steps.
Calibration and Its Importance
3D Printer Extruder Calibration
For various purposes, extruder calibration is essential in FDM 3D printing. Extruder calibration ensures that the printer is moving precisely the right amount of filament through the hot end during a print.
If there isn’t enough filament, the layers will be thin or absent, and the element will have gaps between them. Adhesion will be poor, and prints will delaminate and warp due to the layers’ delaminating and warping.
If you use too much filament, your prints will have over-extrusion issues, which will result in blobs, stringing, and droopy information. Extreme over-extrusion can also cause clogging and filament jamming in the hotend.
We recommend calibrating your extruder using this essential step-by-step guide to avoid these issues.
You’ll need the following items to calibrate your extruder:
- Your 3D printer
- A computer with slicer software installed
- Any non-flexible filament
- Calipers
- A permanent marker
Step 1: Loading Filament
3D Printer Extruder Calibration
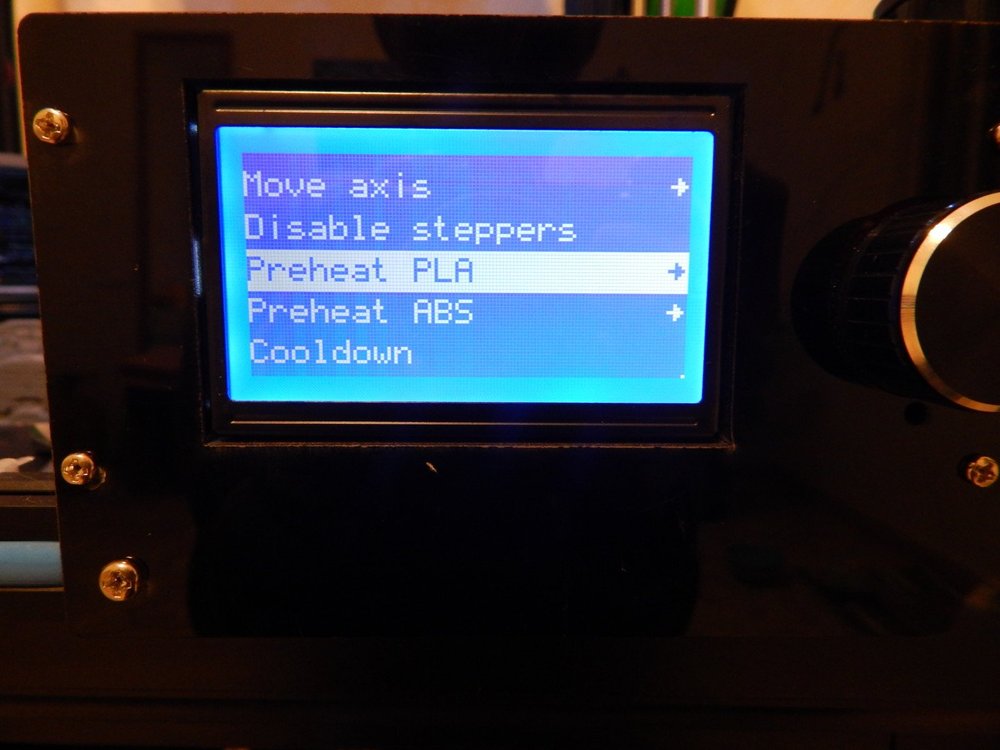
The first step in calibrating your extruder is to preheat the nozzle of your 3D printer to the temperature needed for the filament you plan to use. Preheat to the temperature for a non-flexible filament if you already have one prepared.
If not, load your filament as expected after the printer has been preheated, making sure to remove any previously used content.

Step 2: Connect Your 3D printer to a Computer
3D Printer Extruder Calibration
Connect your 3D printer to your computer via USB or WiFi if your printer supports it. Open and attach a slicer program to submit single-line g-code commands to the printer. Simplify 3D, Pronterface, Repetier Host, and OctoPrint are some examples.
You’ll need to go to the system control panel window in Simplify 3D to find the portion of your slicer dedicated to tethered printing. It would help if you used the Serial Monitor in the Arduino IDE with most RAMPS and Atmega-based printers.
Send the command M83 to the printer to allow Relative Mode on the extruder.
How To Connect Ender 3 To Pc: Step By Step Guide
Step 3: Make a mark on your filament and begin extruding
3D Printer Extruder Calibration
We’ll send 100 mm of filament through the hot end to calibrate the extruder.
Before doing that, measure 120 mm from the extruder’s entrance and label the filament with your calipers and a pen.
Send the printer the command G1 E100 F100 now. As determined by the computer, this will slowly feed 100 mm of filament through the extruder. This is done over a minute to prevent any issues with filament tension or strain in the hot end, which may cause the results to become muddled.

Step 4: Measure Again
3D Printer Extruder Calibration
The printer should have extruded precisely 100 mm of filament at this stage. Measure from the extruder to the original mark you made on the filament to see if this is the case.
If the measurement is 20 mm, your extruder is correctly calibrated, and you don’t need to follow these directions anymore.
If your measurement is greater than 20 mm, your printer is most likely under-extrusion, and your steps/mm setting should be increased.
Your printer is over-extruding if it measures less than 20 mm. This means you’ll have to lower the steps/mm setting.
Step 5: Calculate the Correct Steps per Millimeter Value
3D Printer Extruder Calibration
To accurately tune the extruder, we must first determine the printer’s actual, incorrect step/mm value and then calculate the physical, correct value.
To get started, send the M503 command to your printer. Locate the line that begins with echo: M92, and then the E-value (usually at the end of this line). This is the current value for steps/mm. Your display will receive a series of values as a result of this.
The physical steps/mm value is next. To begin, we must first decide how much filament was extruded. We may calculate this by subtracting the gap between the extruder and the label on the filament from 120:
- 120 – [length from extruder to mark] = [actual length extruded]
The next move is to figure out how many steps the extruder took to extrude the amount of filament. By multiplying the steps/mm value by the length we should have extruded, in this case,v 100 mm, we can get this value:
- [steps/mm value] x 100 = [steps taken]
By dividing by the length extruded, we can get the physical, right steps/mm value:
- [steps taken] / [actual length extruded] = [accurate steps/mm value]
All we have to do now is set this as the printer’s steps/mm value, and we should be good to go!
Step 6: Set a New Steps per Millimeter Value
3D Printer Extruder Calibration
To set a new steps/mm value, first issue the M92 E###.#, replacing the hashes (#) with the precise steps/mm value obtained in the previous phase. Send the command M500 to save this to your printer’s memory.
At this point, the safest thing to do is to turn your printer off and on again. Then, submit the command M503 to your printer once more, and double-check that the E-value matches the new steps/mm value. If not, go back and repeat the first part of this move.
You should replicate steps 1–4 to ensure that you calibrated your 3D printer extruder correctly. This time, the distance between the extruder and the target should be exactly 20 mm. If not, recalculate and save the value.
Your printer’s extruder should now be properly balanced!
If you continue to have printing issues, we recommend reading our article on Common 3D Printing Problems and Troubleshooting. In addition, as detailed in this post, we recommend that you calibrate your printer’s other axes.


